

Finding the right greenhouse foundation can feel confusing. But it does not have to be.
In this guide, I will walk you through everything you need to know. From choosing the right type to making it last longer.
I have seen many people struggle with this choice. That is why I put together clear, simple steps that actually work.
You will learn what greenhouse foundations are, how to pick the right one, and tips to make it last longer.
Let's make this simple for you.
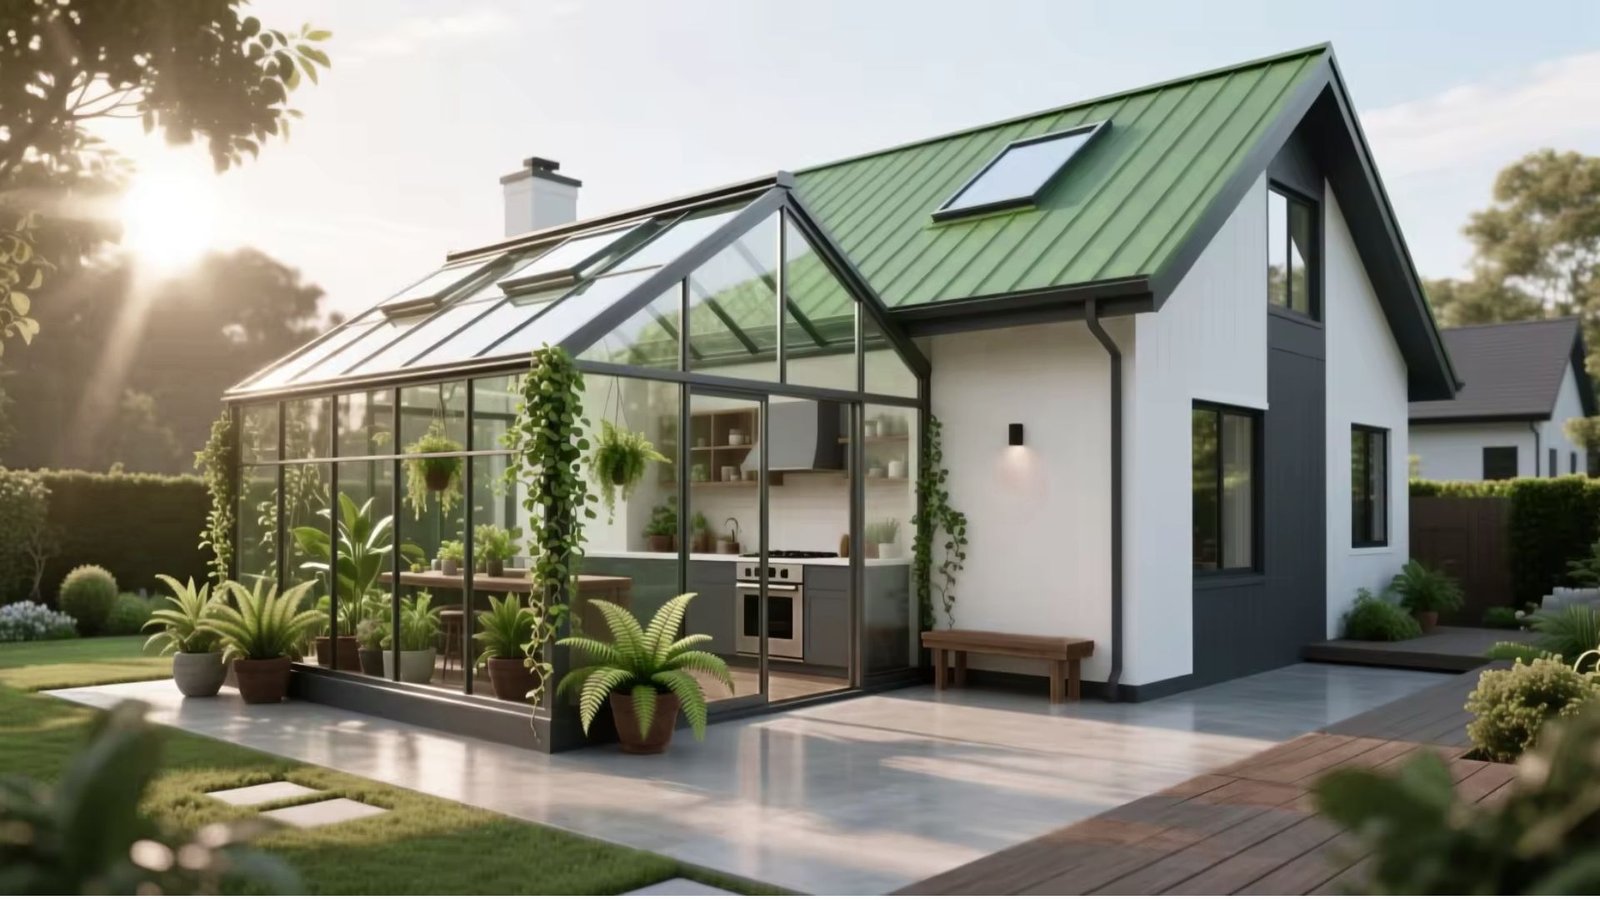
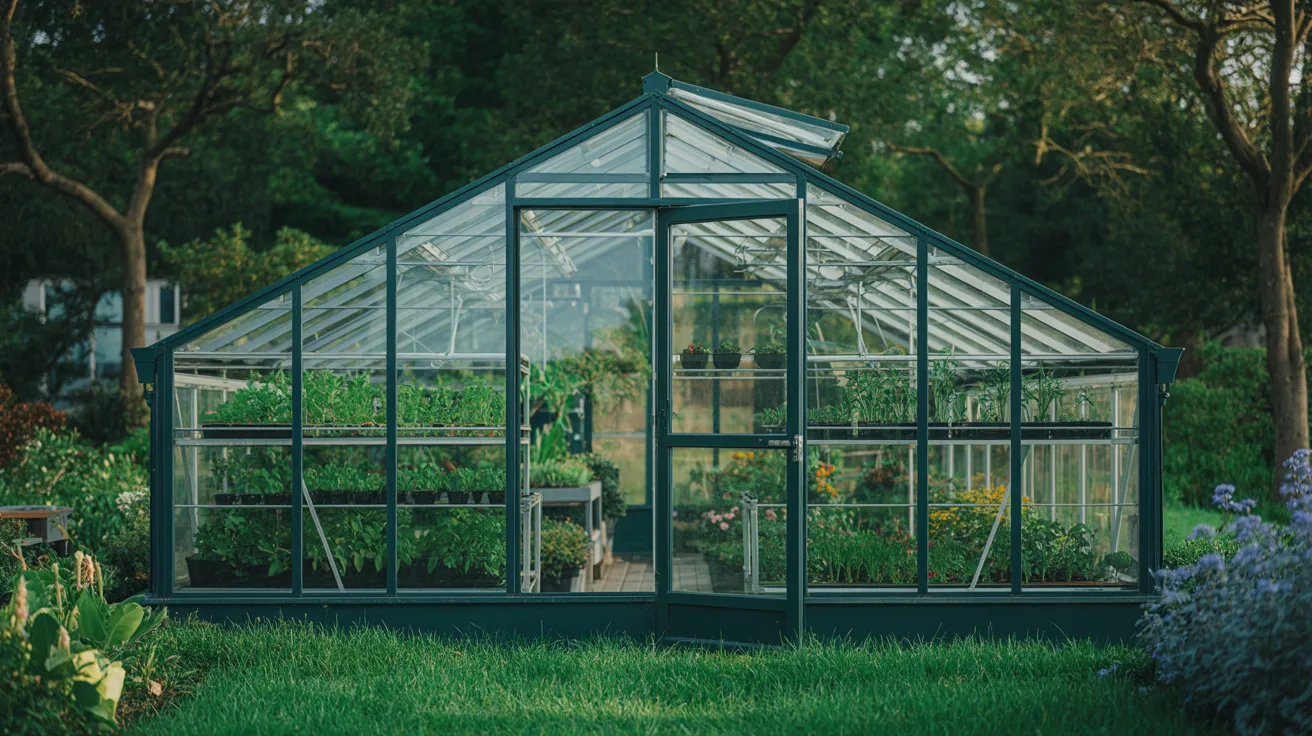
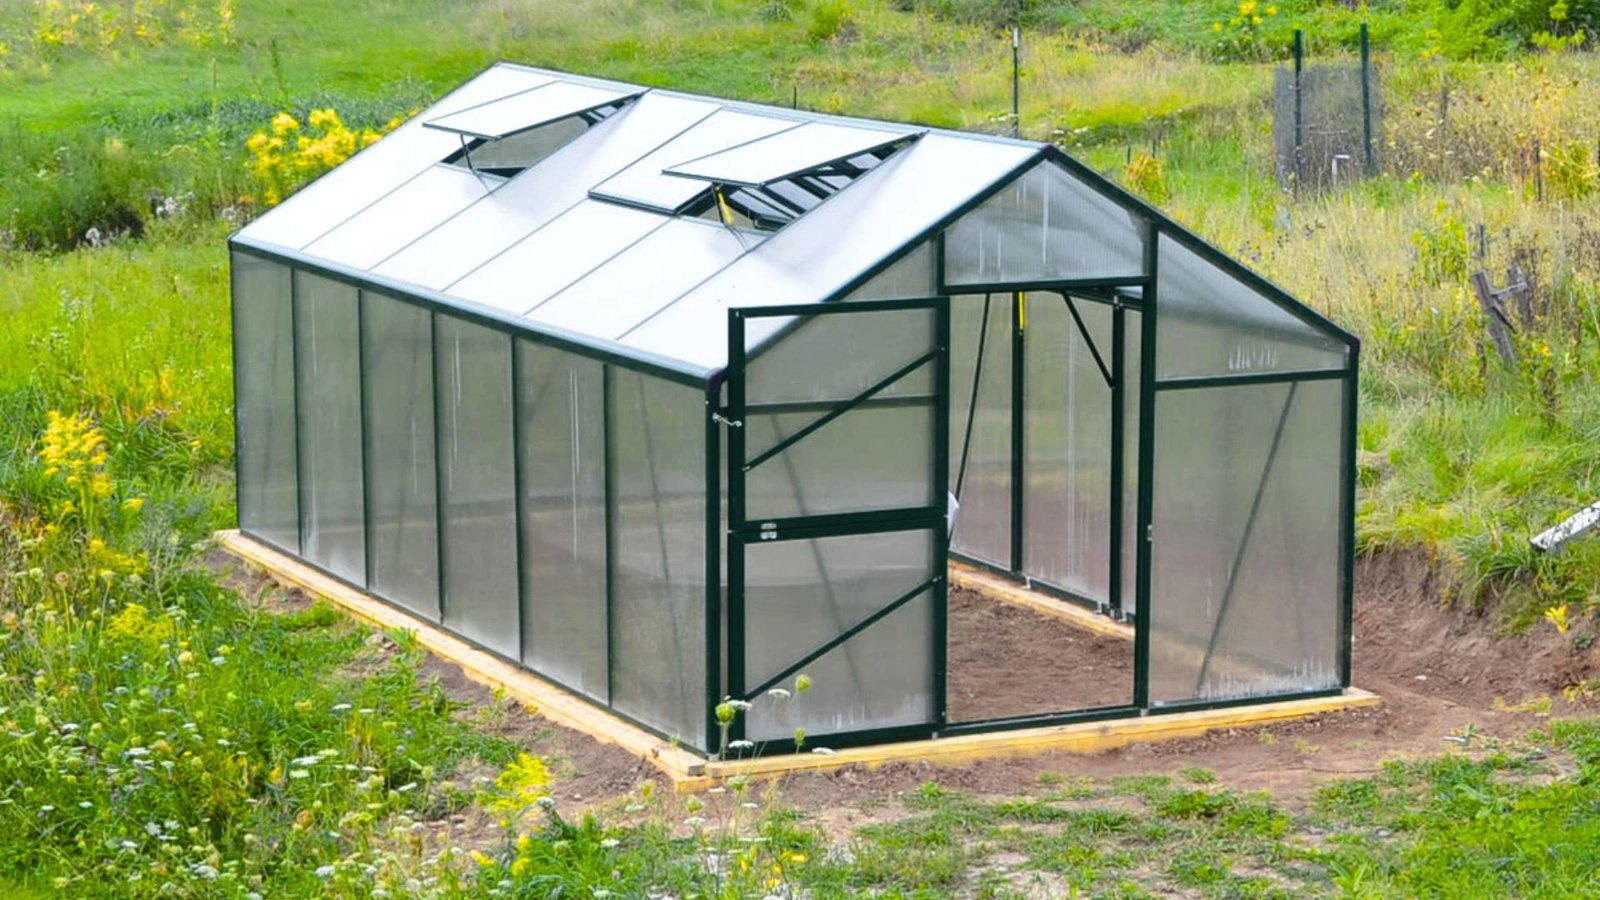
Why a Greenhouse Foundation Matters
A solid foundation keeps your greenhouse stable, dry, and warm through every season. Without a strong base, the structure can shift over time due to wind, soil movement, and frame weight.
A good foundation holds everything firm and keeps it aligned. Water pooling under your greenhouse leads to rot and mold, but a proper foundation moves water away from the base using gravel layers or sloped surfaces to keep the floor dry.
Cold ground also pulls heat away fast, and a foundation acts as a barrier that slows heat loss, helping your plants stay warm while cutting down on heating costs.
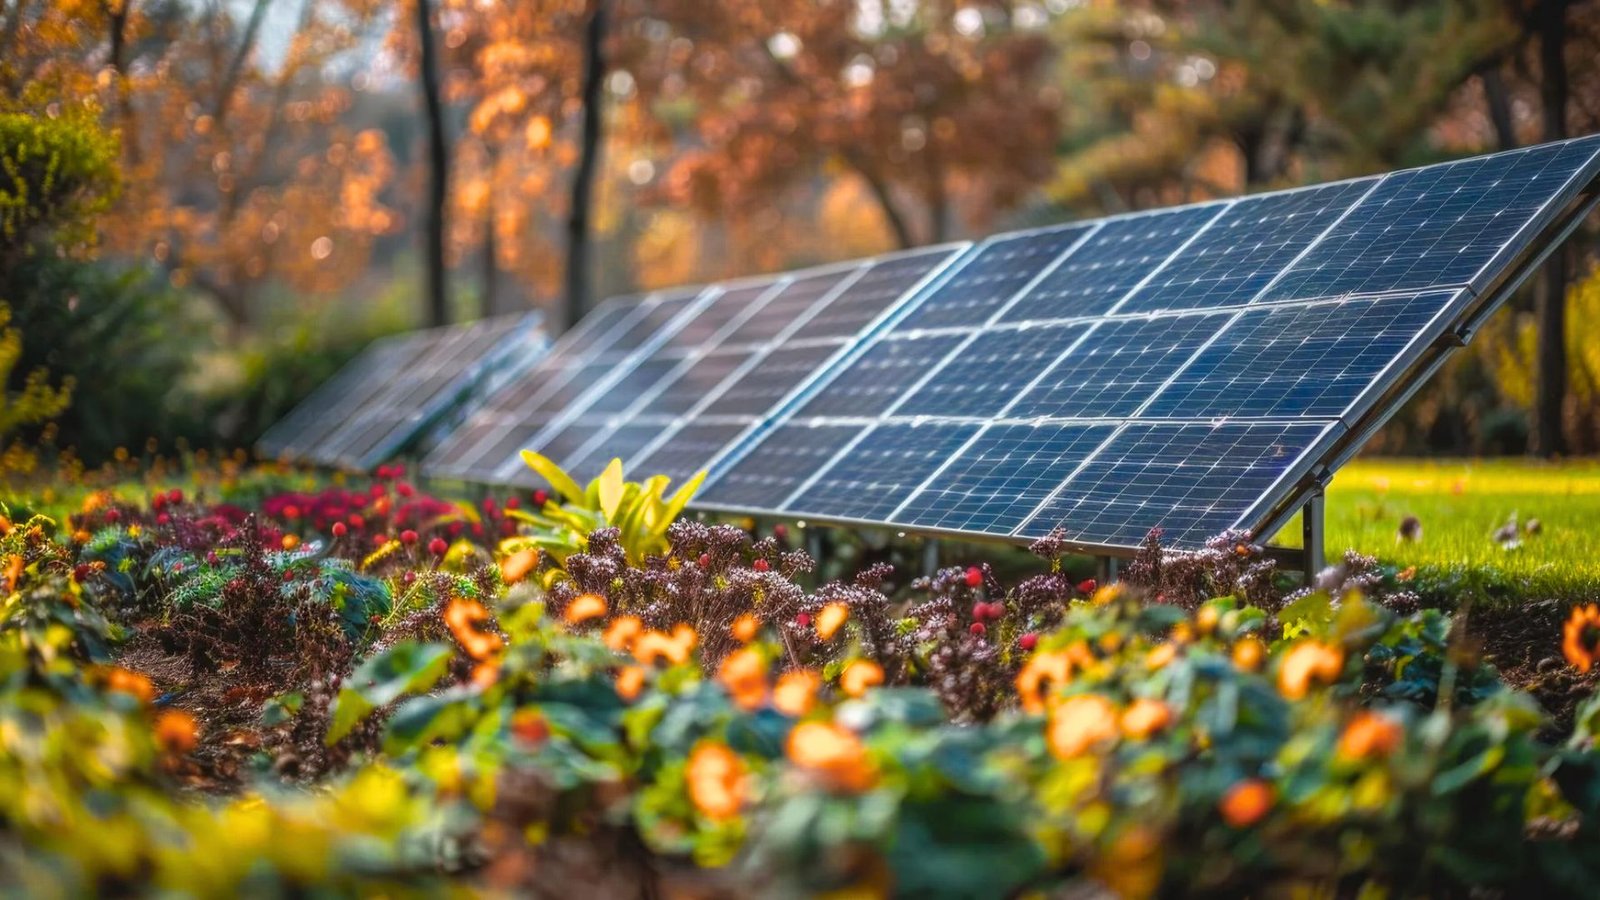
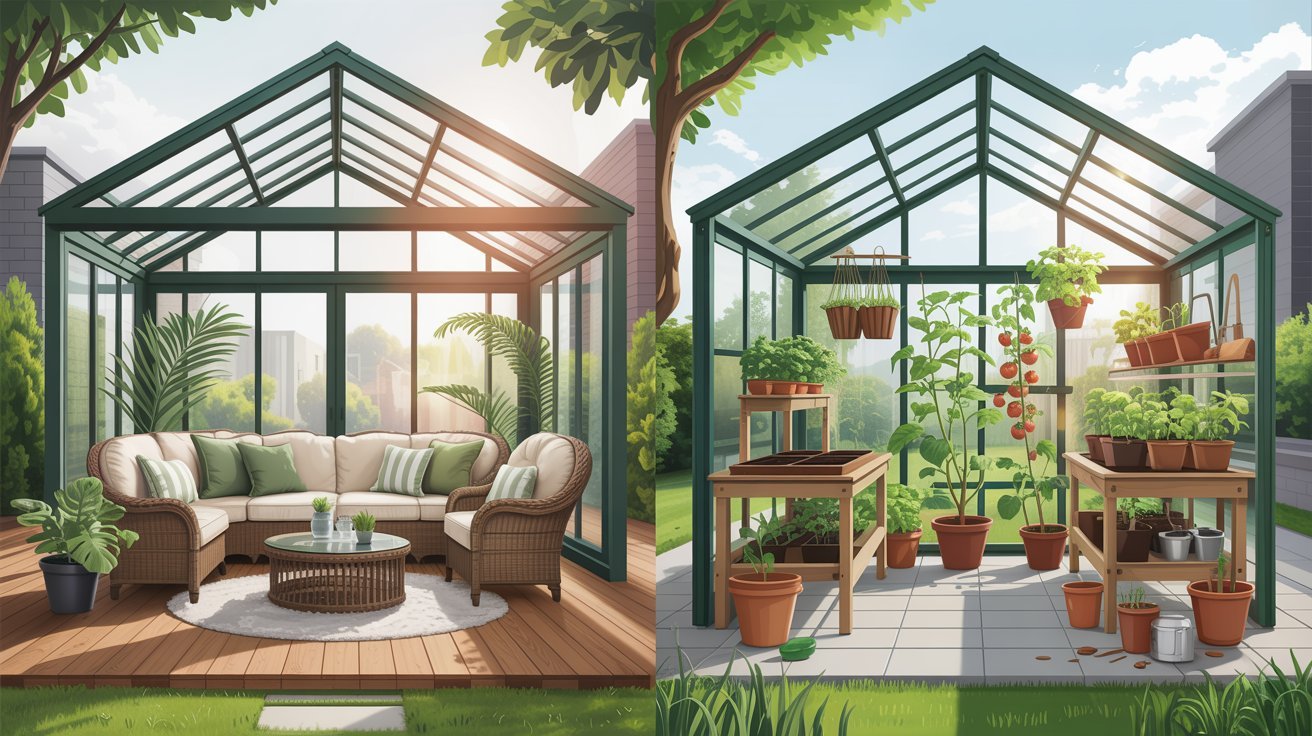
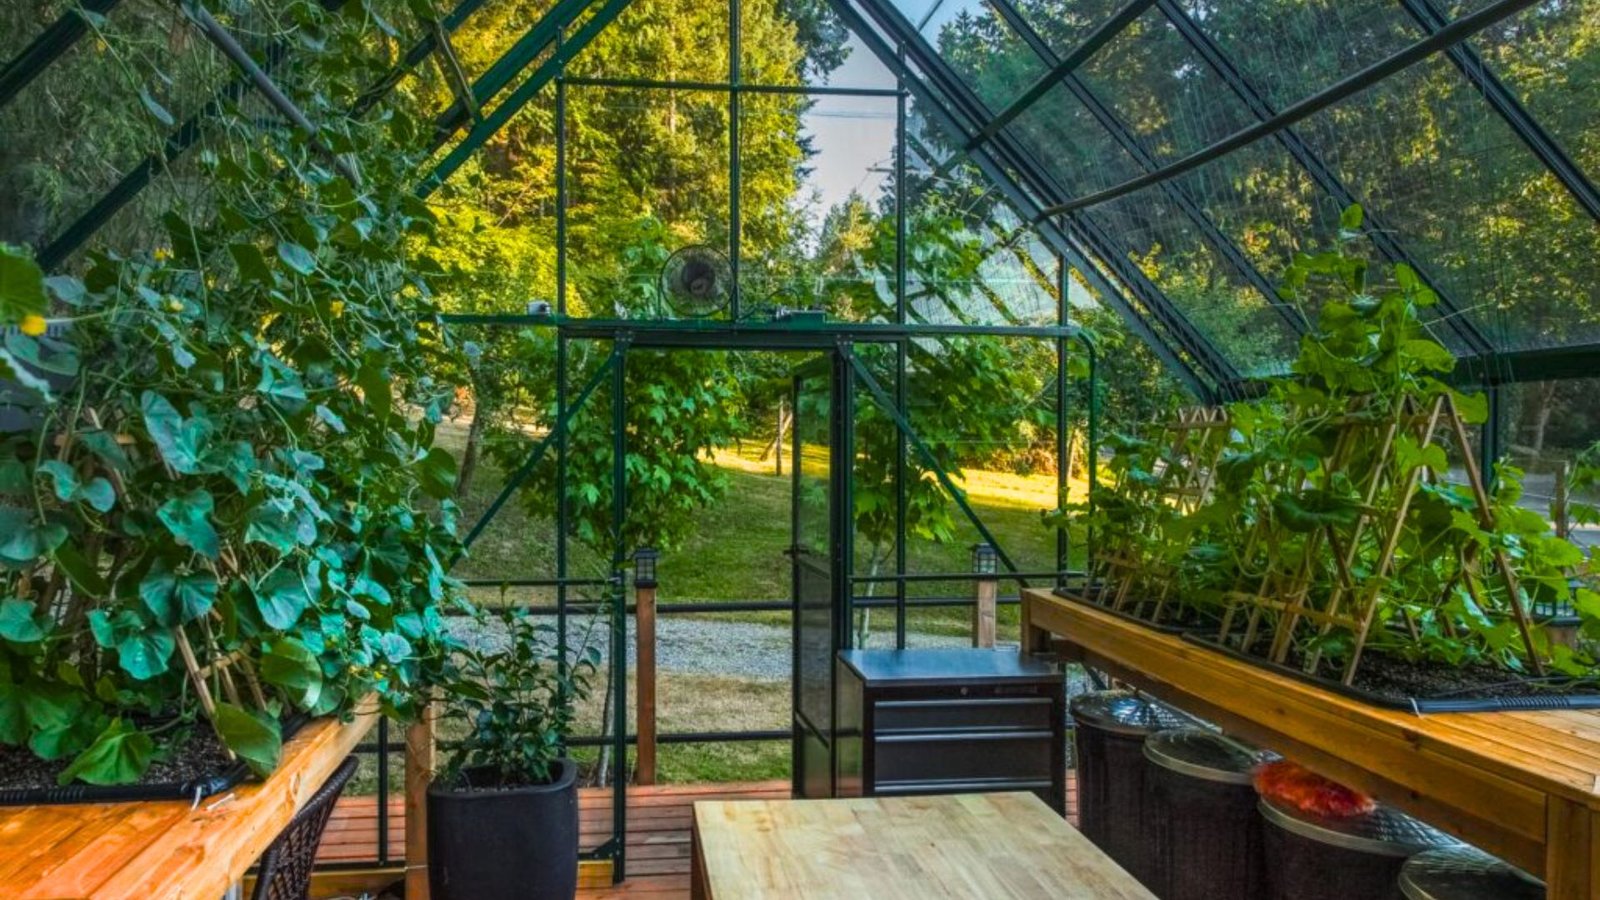
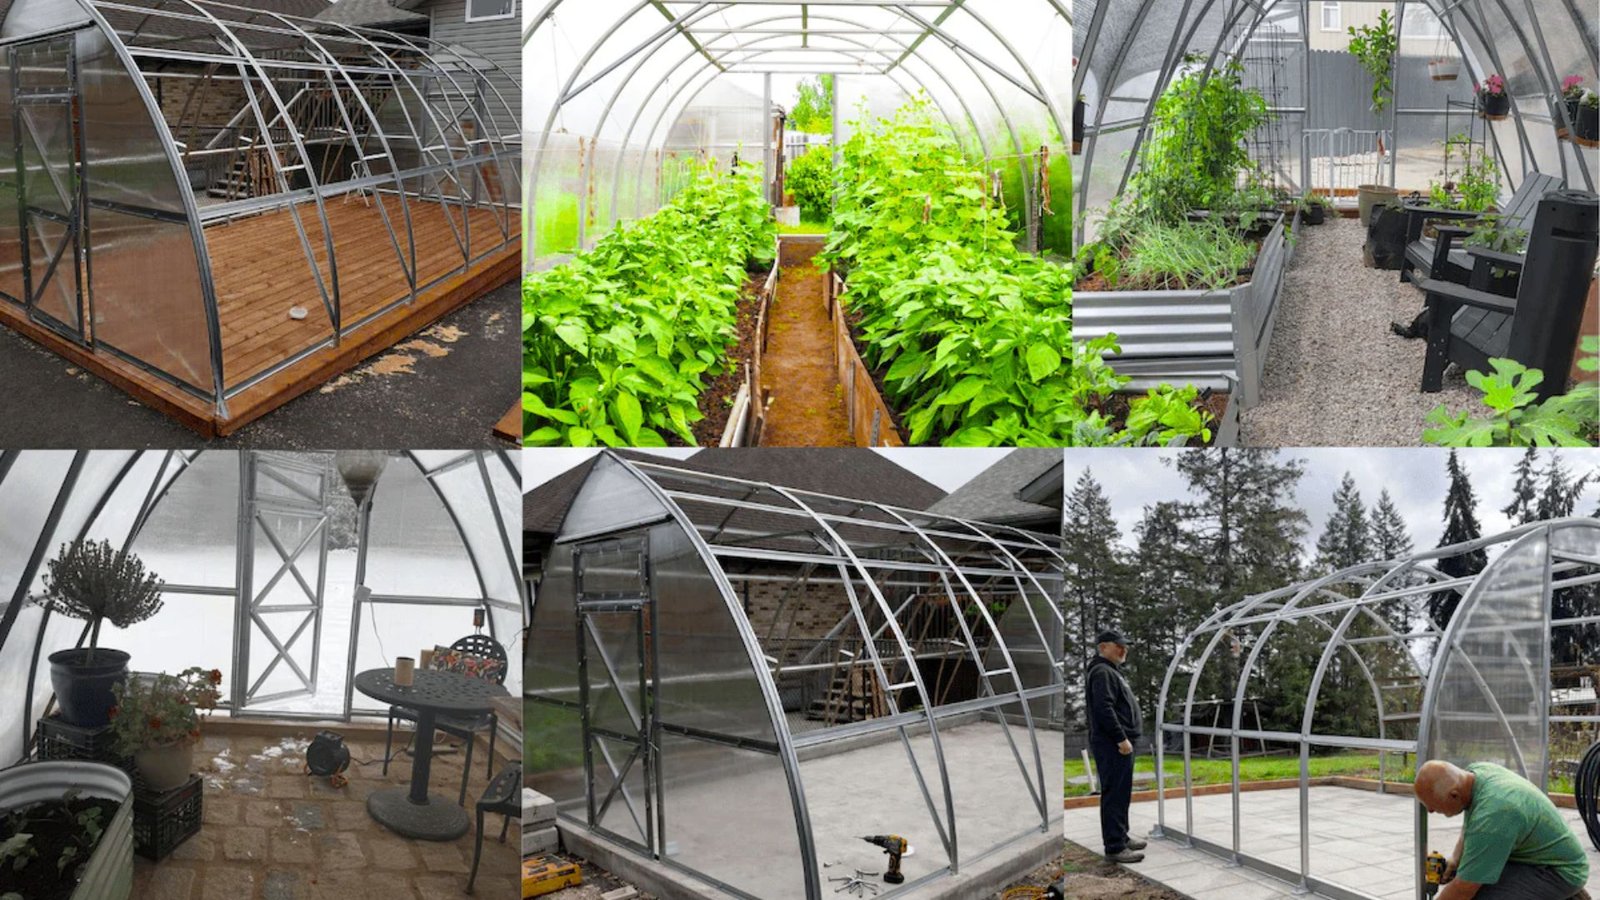
Greenhouse Foundation Options
The right foundation keeps your greenhouse stable, level, and built to last through changing seasons.
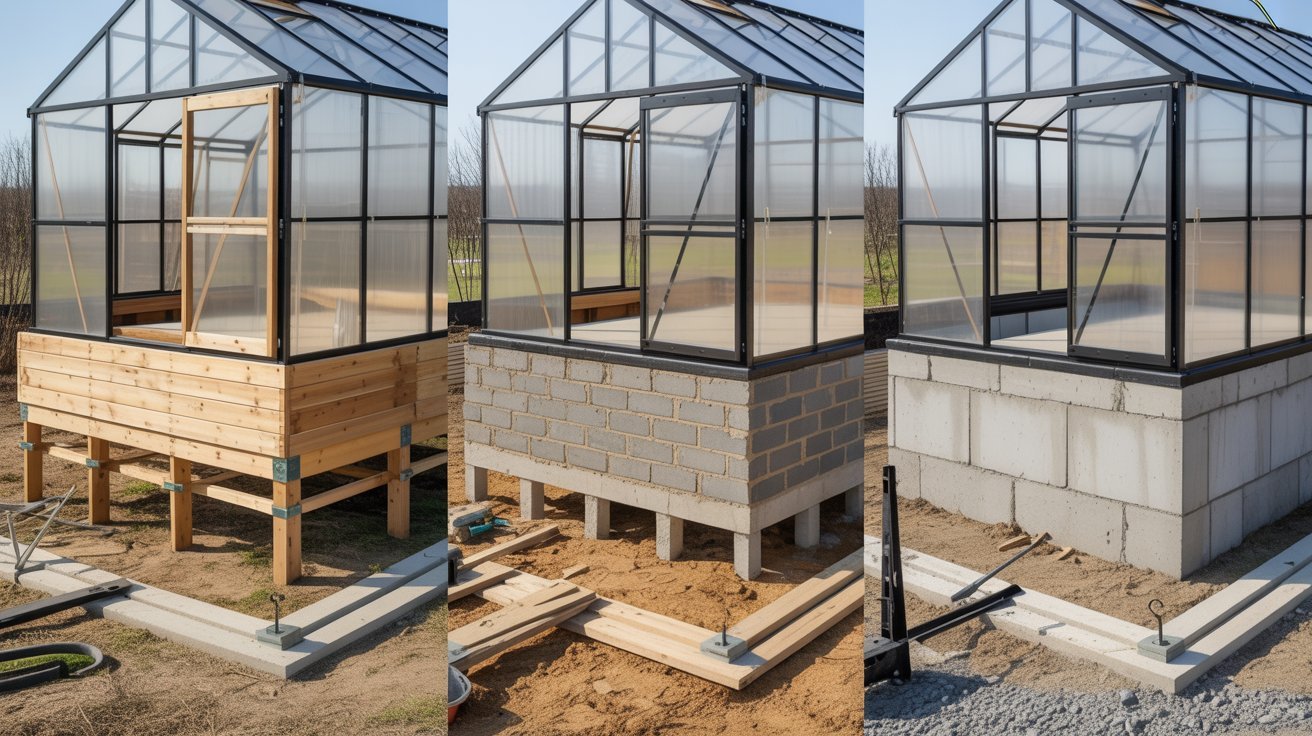
Wooden Greenhouse Foundation
A wood foundation is the most affordable option for small to medium greenhouses.
Use pressure-treated lumber to resist moisture and rot. Build a simple beam frame and anchor it with corner stakes or footings to prevent shifting.
Wood foundations last 10 to 15 years with basic upkeep. They are also easy to dismantle if you ever need to move the structure.
Cinder Block Greenhouse Foundation
Cinder blocks are more durable than wood and work well for heavier structures.
Stack them around the greenhouse perimeter without any special equipment. Their added height improves drainage and reduces moisture buildup at the base.
Fill the hollow cores with rebar and concrete for extra strength in harsh climates. Blocks do not rot or warp, and a single damaged block can be replaced without disturbing the rest.
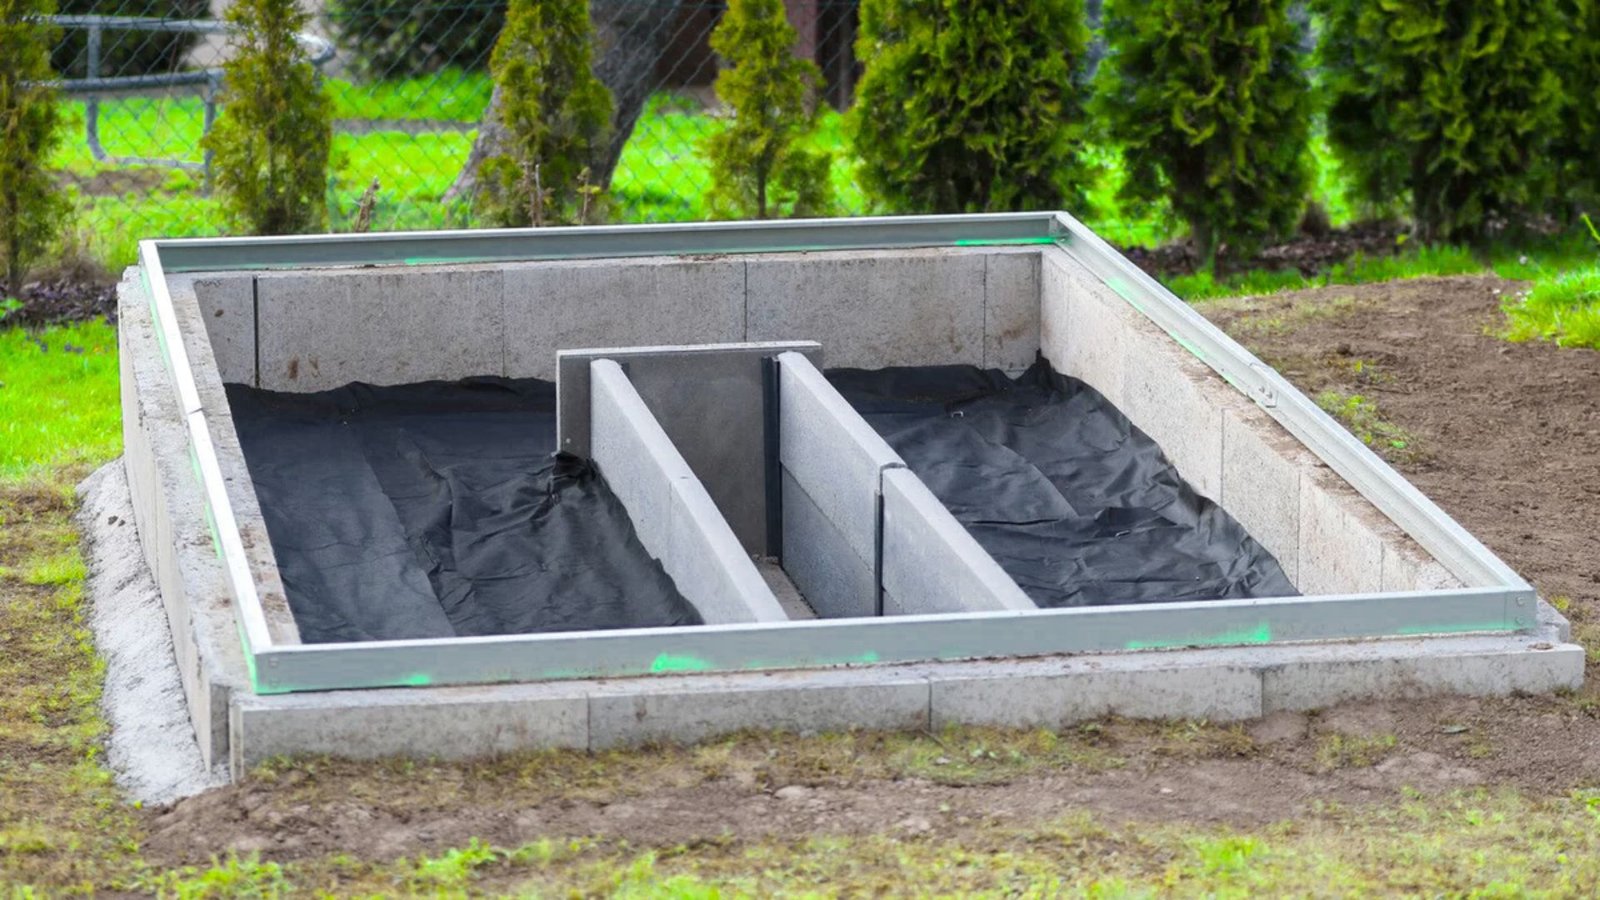
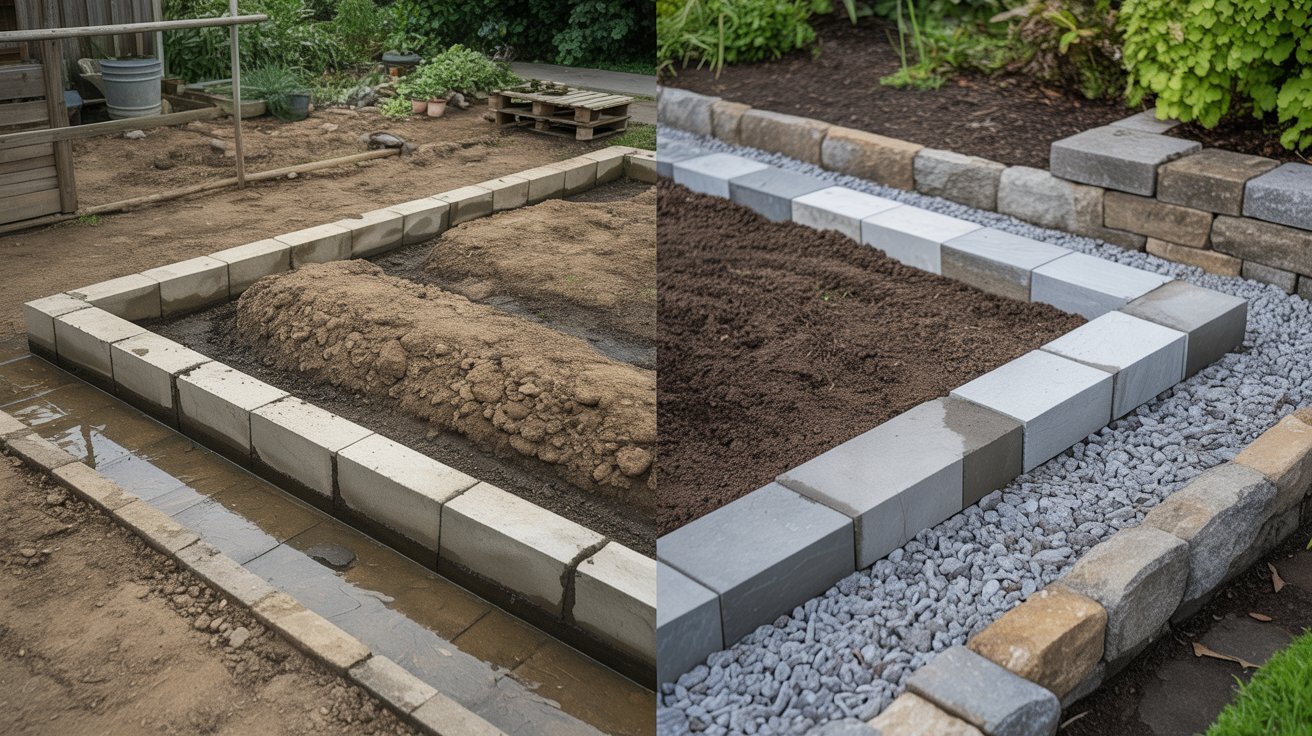
Concrete Slab Foundation
A concrete slab is the strongest and most permanent foundation option. It starts with a gravel base for drainage, followed by rebar placement and a full concrete pour.
Once cured, it supports large structures and heavy equipment with no issues.
It blocks pests effectively and is easy to clean. The main drawback is cost and permanence. It is best suited for a greenhouse you plan to keep in one place for the long term.
DIY Greenhouse Foundation Planning

Planning a greenhouse foundation takes careful thought about your yard's conditions before you pour a single shovelful of soil.
Site Preparation and Leveling
Clear the area of all grass, rocks, and roots before doing anything else. Use a long board and a level to find high and low spots, then compact the soil firmly after leveling. Add a 4 to 6 inch layer of crushed gravel to keep the surface stable and water from pooling beneath your structure.
Checking Frost Line and Drainage
Find out the frost line depth for your area and make sure all footings go below it, since frozen ground can push your foundation out of place.
After heavy rain, watch where water collects in your yard and avoid those spots.
The ground around your greenhouse should slope away from the base so rainwater moves away naturally and does not sit against the foundation.
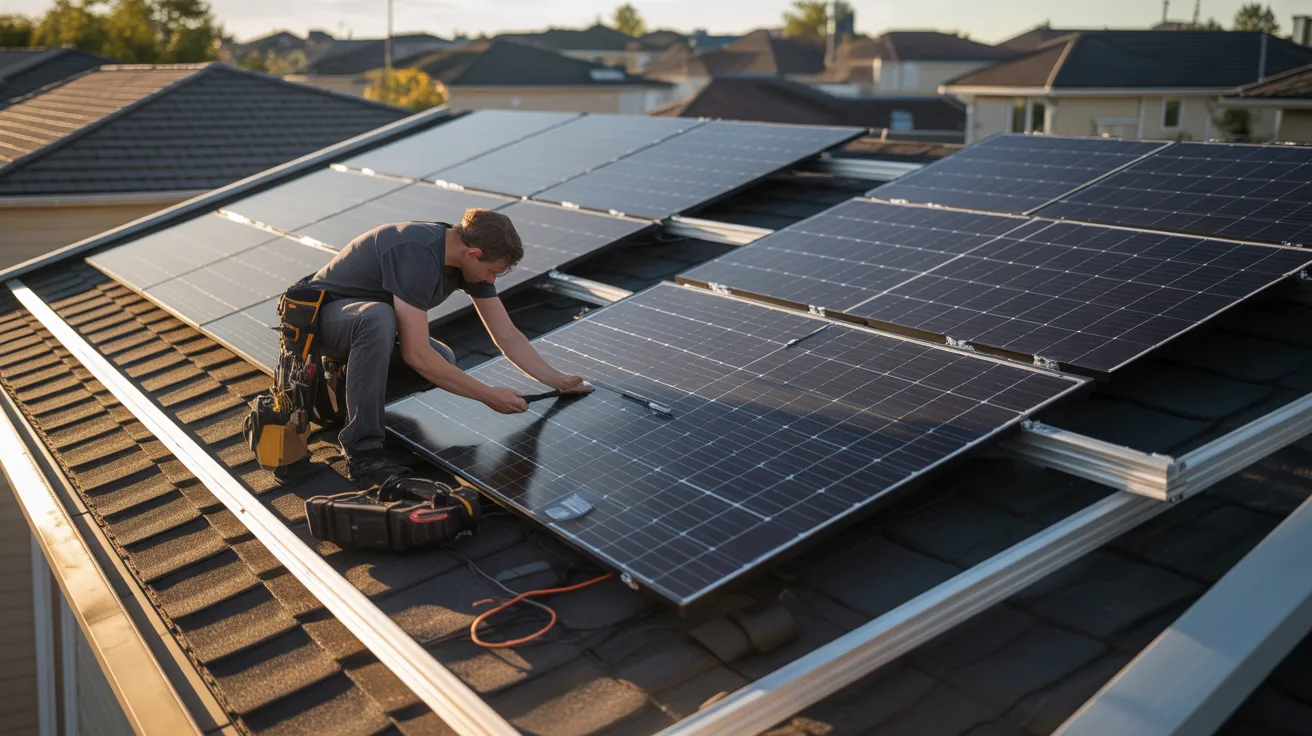
How to Build a Greenhouse Foundation Step by Step
A solid greenhouse foundation keeps your structure safe, level, and long-lasting. Follow these steps to build one the right way.
Step 1: Mark and Prepare the Area
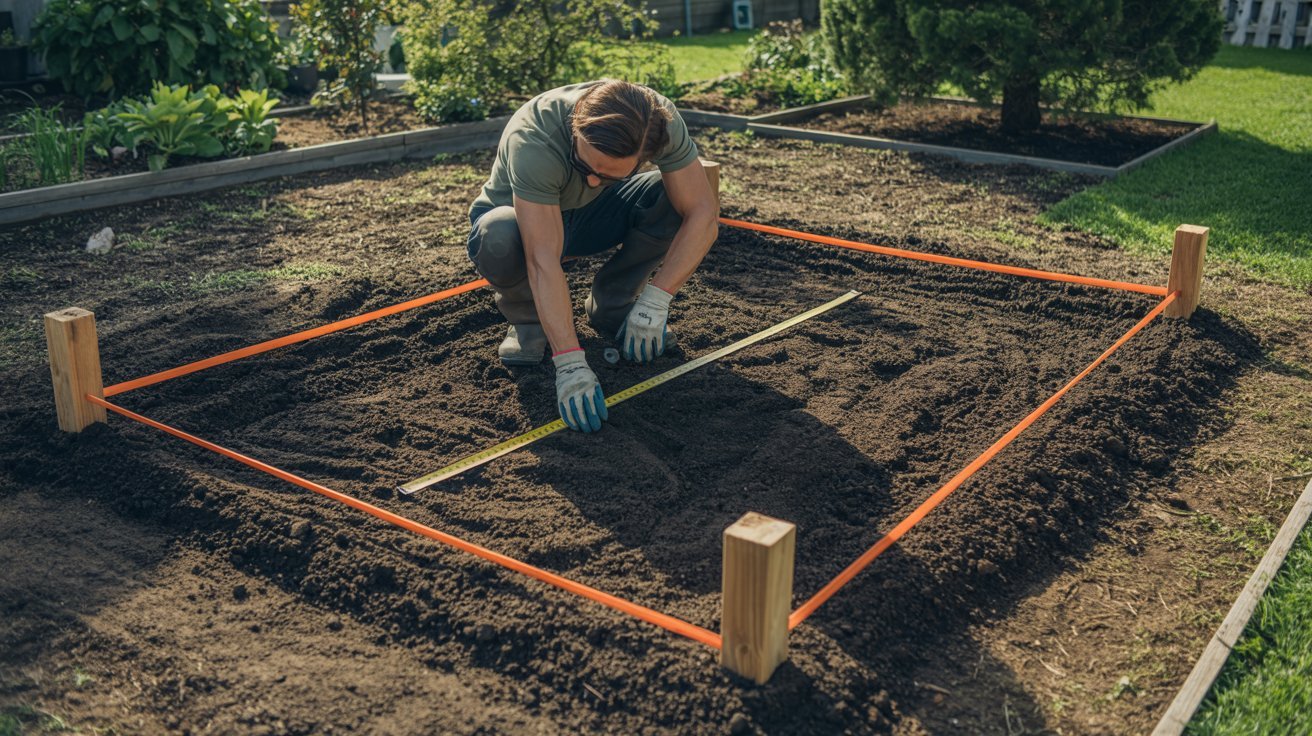
Pick a flat, sunny spot and use stakes and string to mark the greenhouse footprint. Clear the area of grass and weeds, then dig down about 4 to 6 inches.
Step 2: Install the Foundation Base
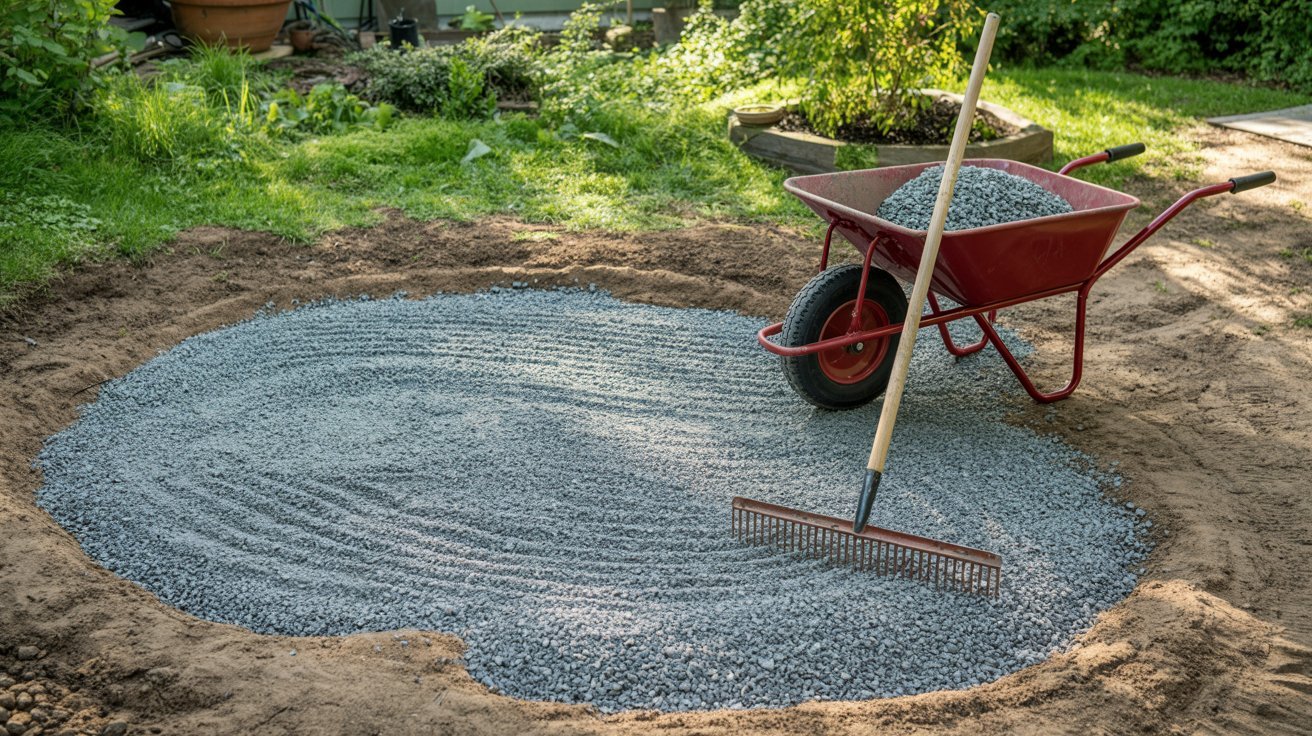
Spread a layer of gravel for drainage or lay concrete blocks for a more permanent base. Use a level throughout to keep everything even and flat.
Step 3: Anchor the Greenhouse Frame
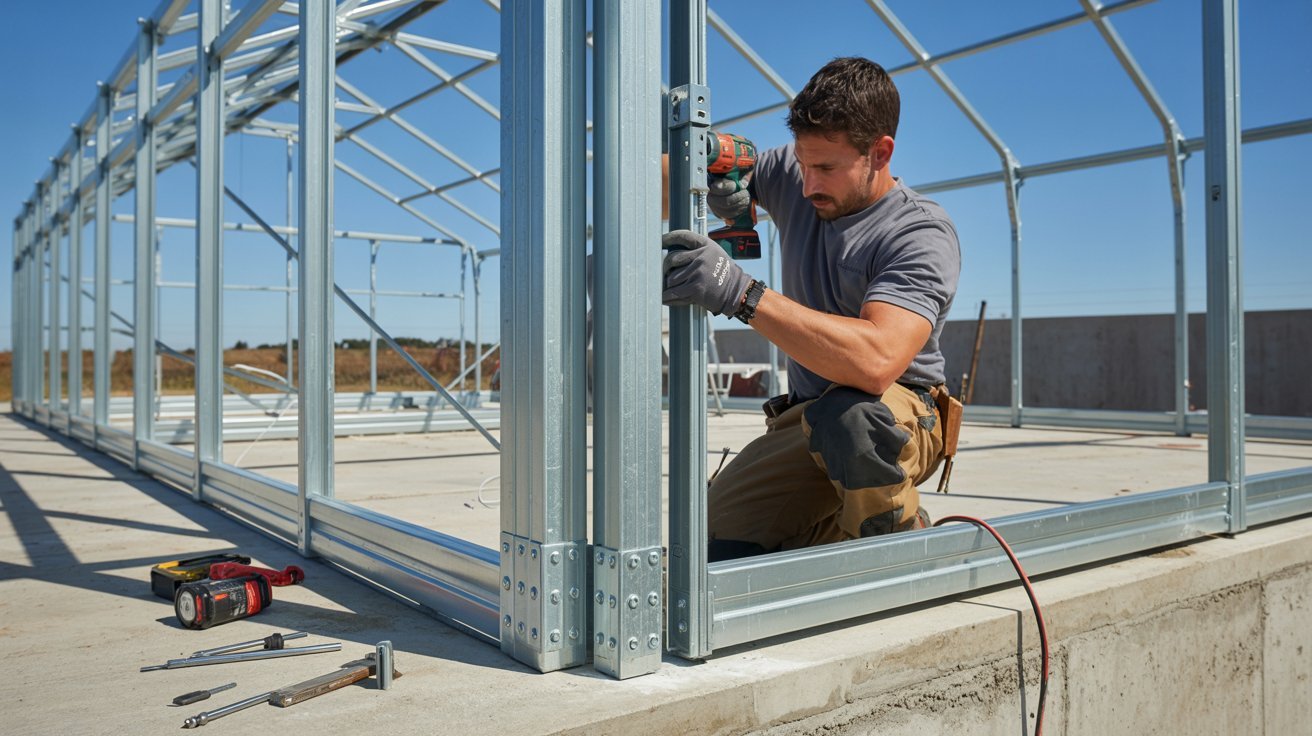
Place anchor brackets or base plates at each corner and along the sides of the foundation. For concrete bases, drill holes and insert anchor bolts. For gravel or timber, drive ground stakes directly into the base.
Step 4: Test for Stability
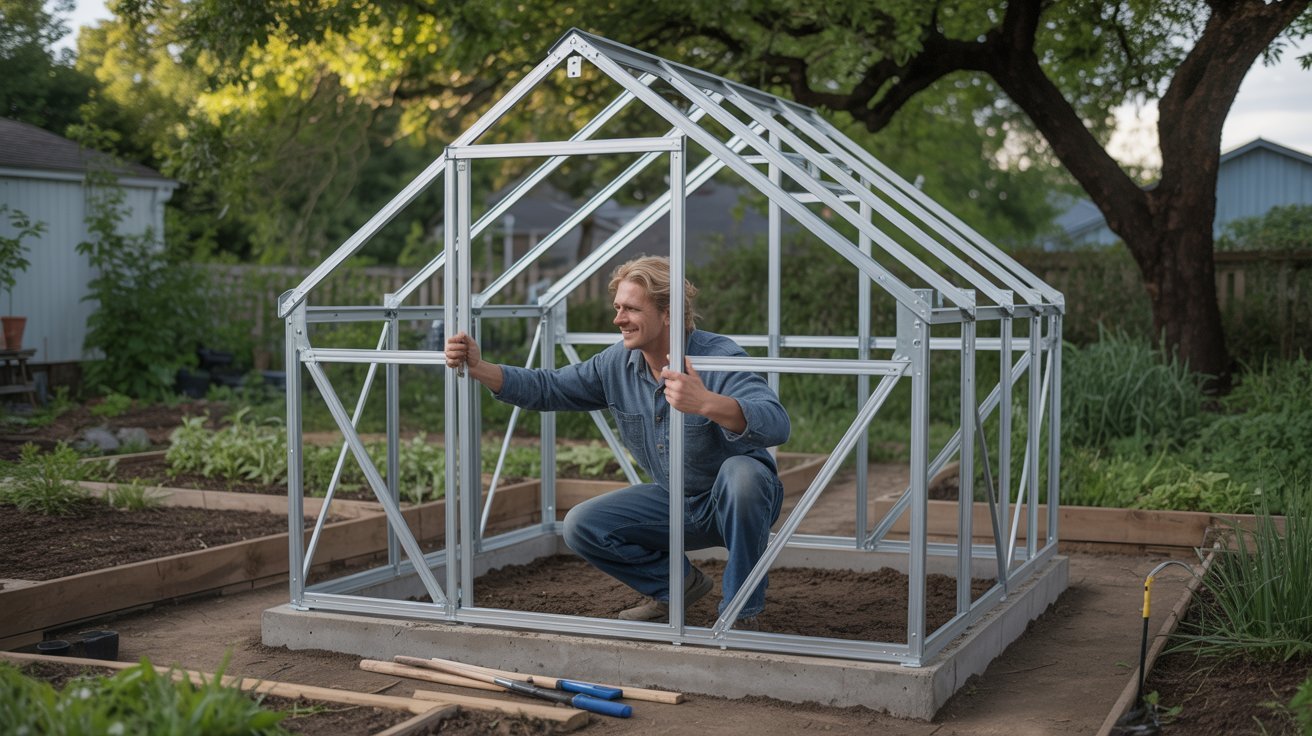
Once attached, test the frame by pushing it gently from different sides. It should feel firm with no movement at all.
Inexpensive Greenhouse Foundation Ideas
Budget-Friendly DIY Options
Setting up a greenhouse foundation on a tight budget is very possible. You just need the right materials and a simple plan.
Gravel and Landscape Fabric:
Lay landscape fabric on the ground and spread a few inches of gravel on top. It blocks weeds, drains water well, and costs very little to set up.
Treated Wood Frames:
Build a rectangular frame using pressure-treated lumber and level it on the ground. Fill it with gravel or soil to create a clean, stable base that holds up against moisture.
Concrete Blocks or Pavers:
Place concrete blocks around the perimeter of your greenhouse without mixing any cement. They are affordable, easy to find, and simple to adjust if your layout changes.
Earthbag Foundation:
Fill bags with soil or sand, stack them, and tamp them down to form a solid base. This is a great low-cost option when other building materials are hard to find.
Repurposed Bricks:
Second hand bricks can often be found for free or at a very low cost. Arrange them around the base of your greenhouse for a firm boundary with no mortar needed.
Cinder Block Perimeter:
Place cinder blocks along the edges of your greenhouse to keep the structure grounded. They are strong, cheap, and require no special skills to work with.
A Few Things to Keep in Mind
Small planning steps before you build can save you a lot of time and trouble later.
- Check how level your ground is before choosing a foundation type. Flat ground makes any option much easier to set up.
- Good drainage is important. A foundation that allows water to pass through keeps your greenhouse dry and healthy.
- You do not need expensive materials to build a solid base. Basic supplies work just fine.
- A little planning before you start goes a long way. It helps you avoid common mistakes down the road.
- A well-built foundation does not need professional help. With the right steps, you can do it yourself and have it last for years.
Common Greenhouse Foundation Mistakes to Avoid
Avoid these simple foundation errors to keep your greenhouse standing strong for years.
Skipping Site Assessment
Test your soil before building. Soft ground can cause the foundation to shift and create bigger problems over time.
Poor Drainage
Slope the ground away from the base. This stops water from pooling and protects against rot and mold.
Wrong Foundation Type
Match your foundation to the size of your greenhouse. A small structure has very different needs than a large one.
Ignoring Frost Lines
Dig below your local frost depth. Building too shallow can cause cracking and shifting during cold months.
Uneven Base
Level the ground carefully from the start. An uneven base puts stress on the entire frame above it.
Wrong Materials
Use concrete or treated metal. Cheaper materials may seem like a good deal but often fail faster.
Rushing Concrete Cure
Wait at least one week before building on fresh concrete. Rushing this step leads to cracks and weak spots.
No Base Ventilation
Add small air gaps at ground level. Good airflow keeps moisture from building up under the structure.
Missing Anchor Points
Bolt the frame into the foundation at every corner. This keeps the greenhouse from shifting in strong winds.
No Expansion Plan
Plan for extra space before you build. Adding room later is much harder than including it from the start.
Final Tips for a Long-Lasting Foundation
Small habits and smart choices can make your greenhouse foundation stay strong for years to come.
- Simple daily habits and smart choices help your foundation stay fresh, smooth, and flawless all day long.
- Start with clean, moisturized skin. Hydrated skin holds makeup better and prevents early fading.
- Always apply a primer before foundation. It helps the product grip your skin and stay put longer.
- Set your makeup with a light powder, focusing on oily areas like the nose and forehead.
- Apply foundation in thin layers. They blend better and last much longer than one heavy coat.
- Keep a setting spray handy for a quick midday refresh without ruining your look.
Conclusion
I remember the first time I found a foundation that actually lasted all day. It felt like such a win.
The truth is, it is not just about the product. Small steps like priming, layering, and setting make all the difference.
You now have everything you need to make your foundation work harder for you. Try these tips and see what changes.
Drop a comment below and let me know which tip worked best for you. I would love to hear your experience!
Frequently Asked Questions
How can I make my foundation last all day?
Start with a primer and set your foundation with powder. A setting spray through the day also helps keep it in place.
Why does my foundation look cakey by afternoon?
This usually happens when too much product is applied at once. Try thin layers and a light powder to avoid buildup.
Does moisturizer really help foundation last longer?
Yes, hydrated skin holds makeup much better than dry skin. Apply a light moisturizer and let it absorb before your foundation.
What is the best way to touch up the foundation midday?
A quick spritz of setting spray works better than adding more product. It refreshes your look without making it look heavy.
Should I change my foundation formula with the seasons?
Yes, your skin changes with the weather, so your formula should too. Switch to a dewy finish in winter and a matte one in summer.