
Understanding a solar panel wiring diagram for home setup can feel confusing at first.
I have been there, staring at tangled wires and technical charts with no idea where to start.
But it does not have to be that hard.
In this guide, I will walk you through everything, including, why homeowners are going solar, how wiring actually work, what diagrams you need before installation
I have helped simplify this topic for hundreds of readers.
By the end, you will feel confident and ready to move forward.
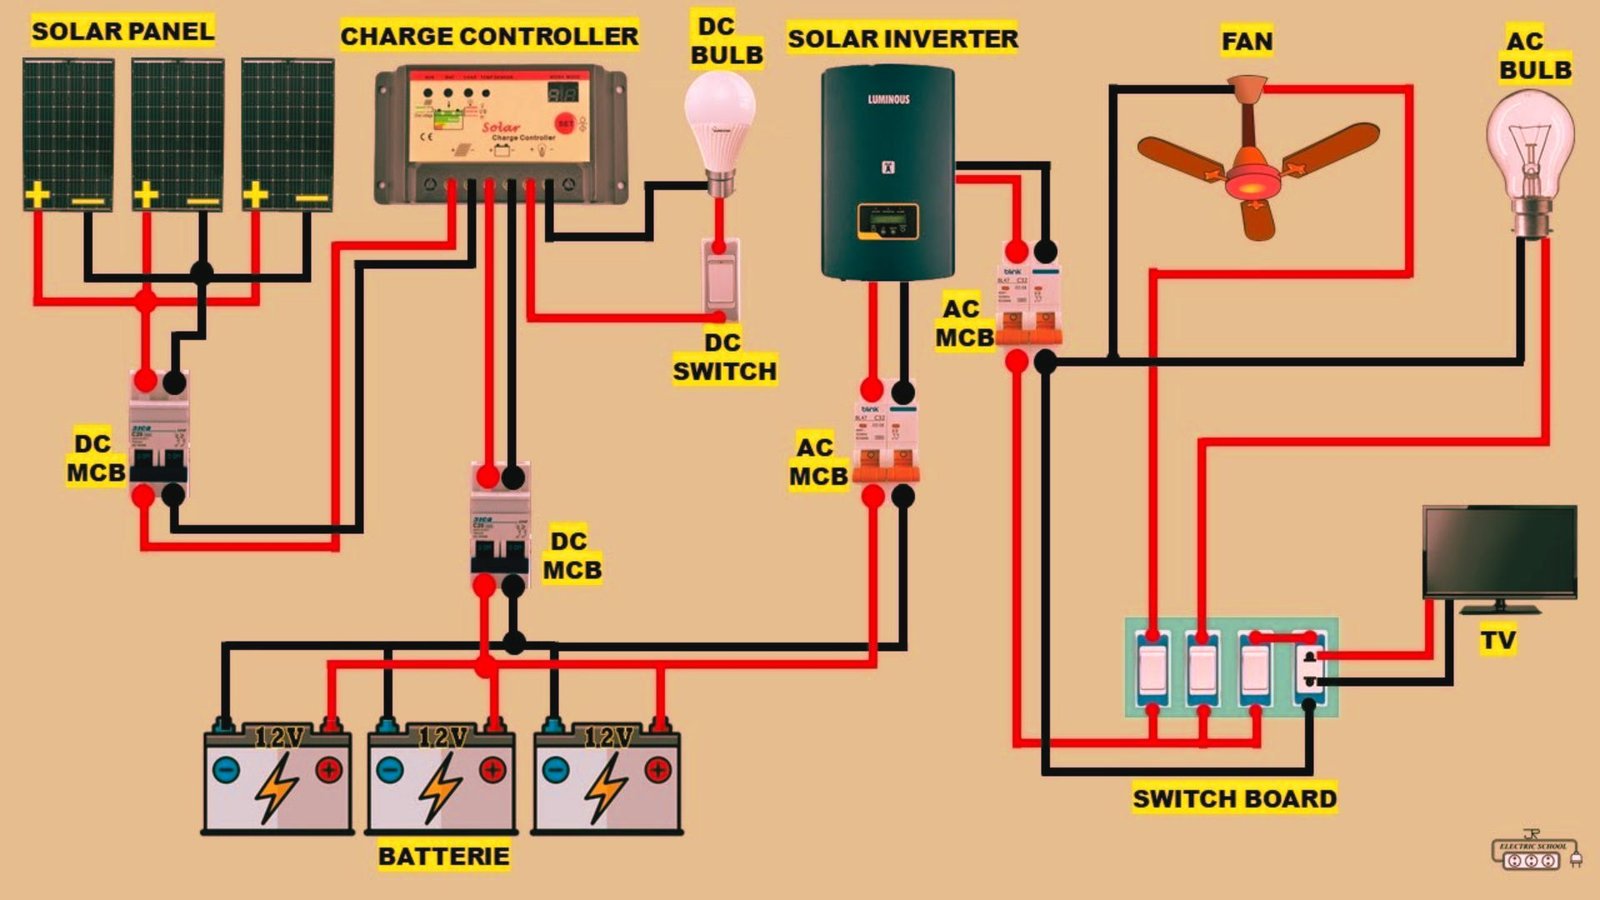
What Is a Solar Panel Wiring Diagram for Home?
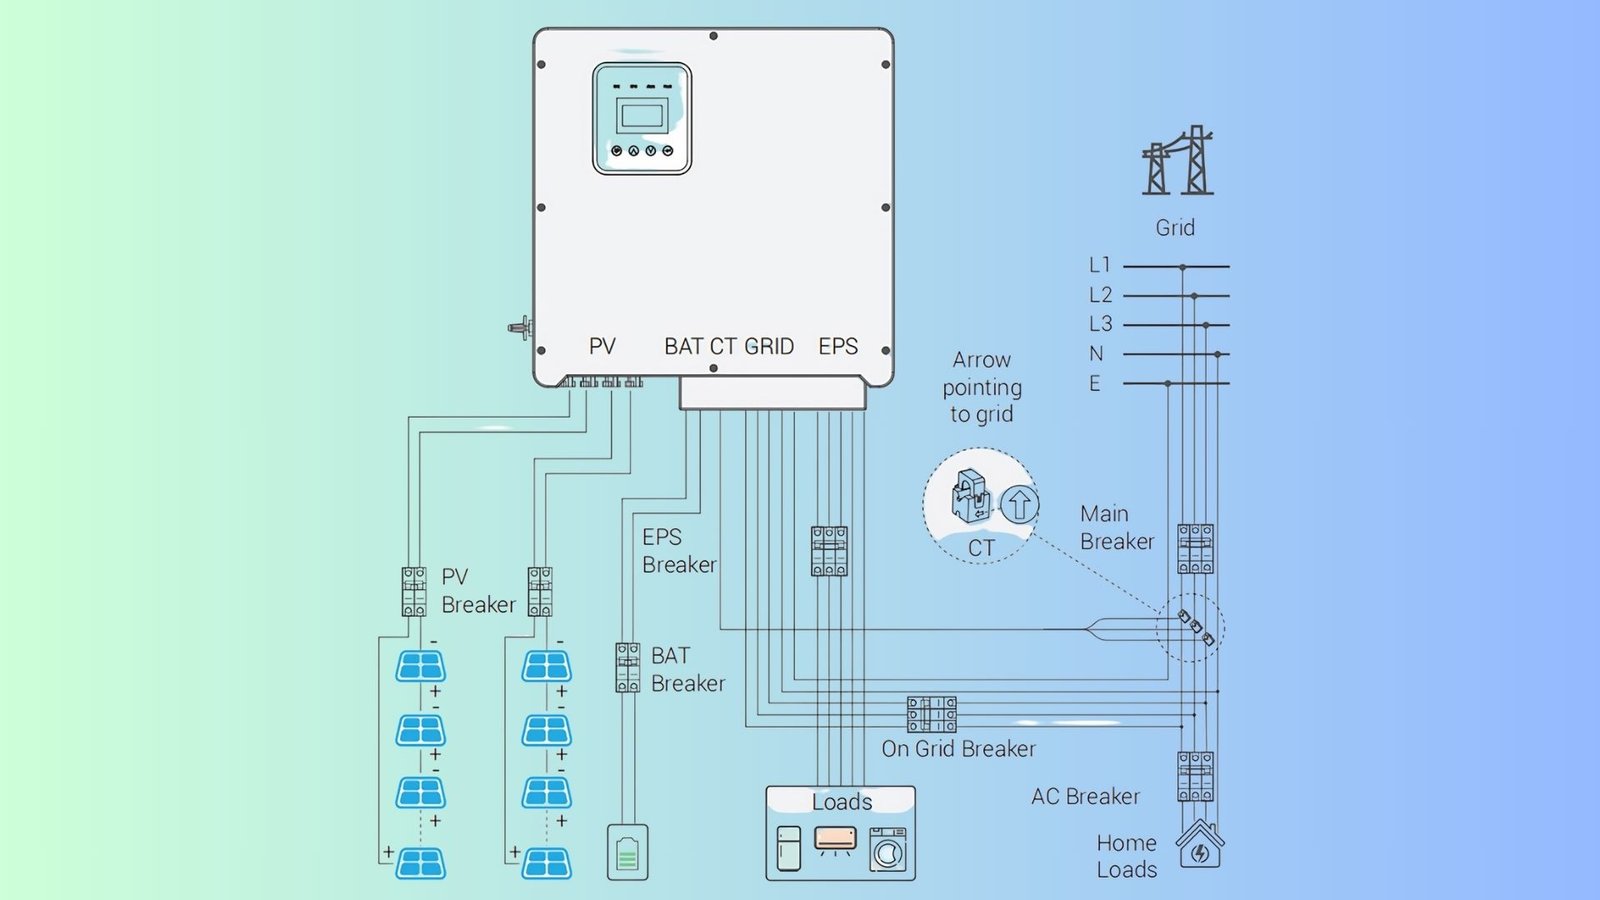
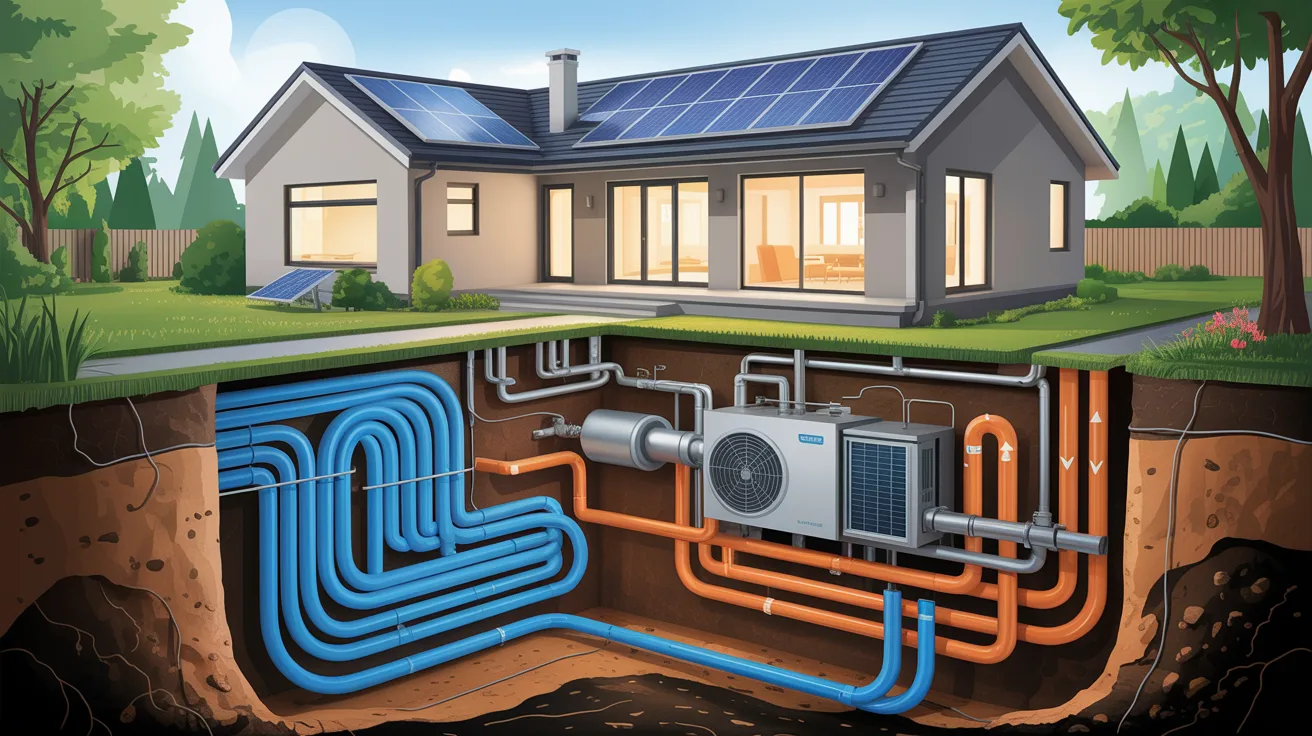
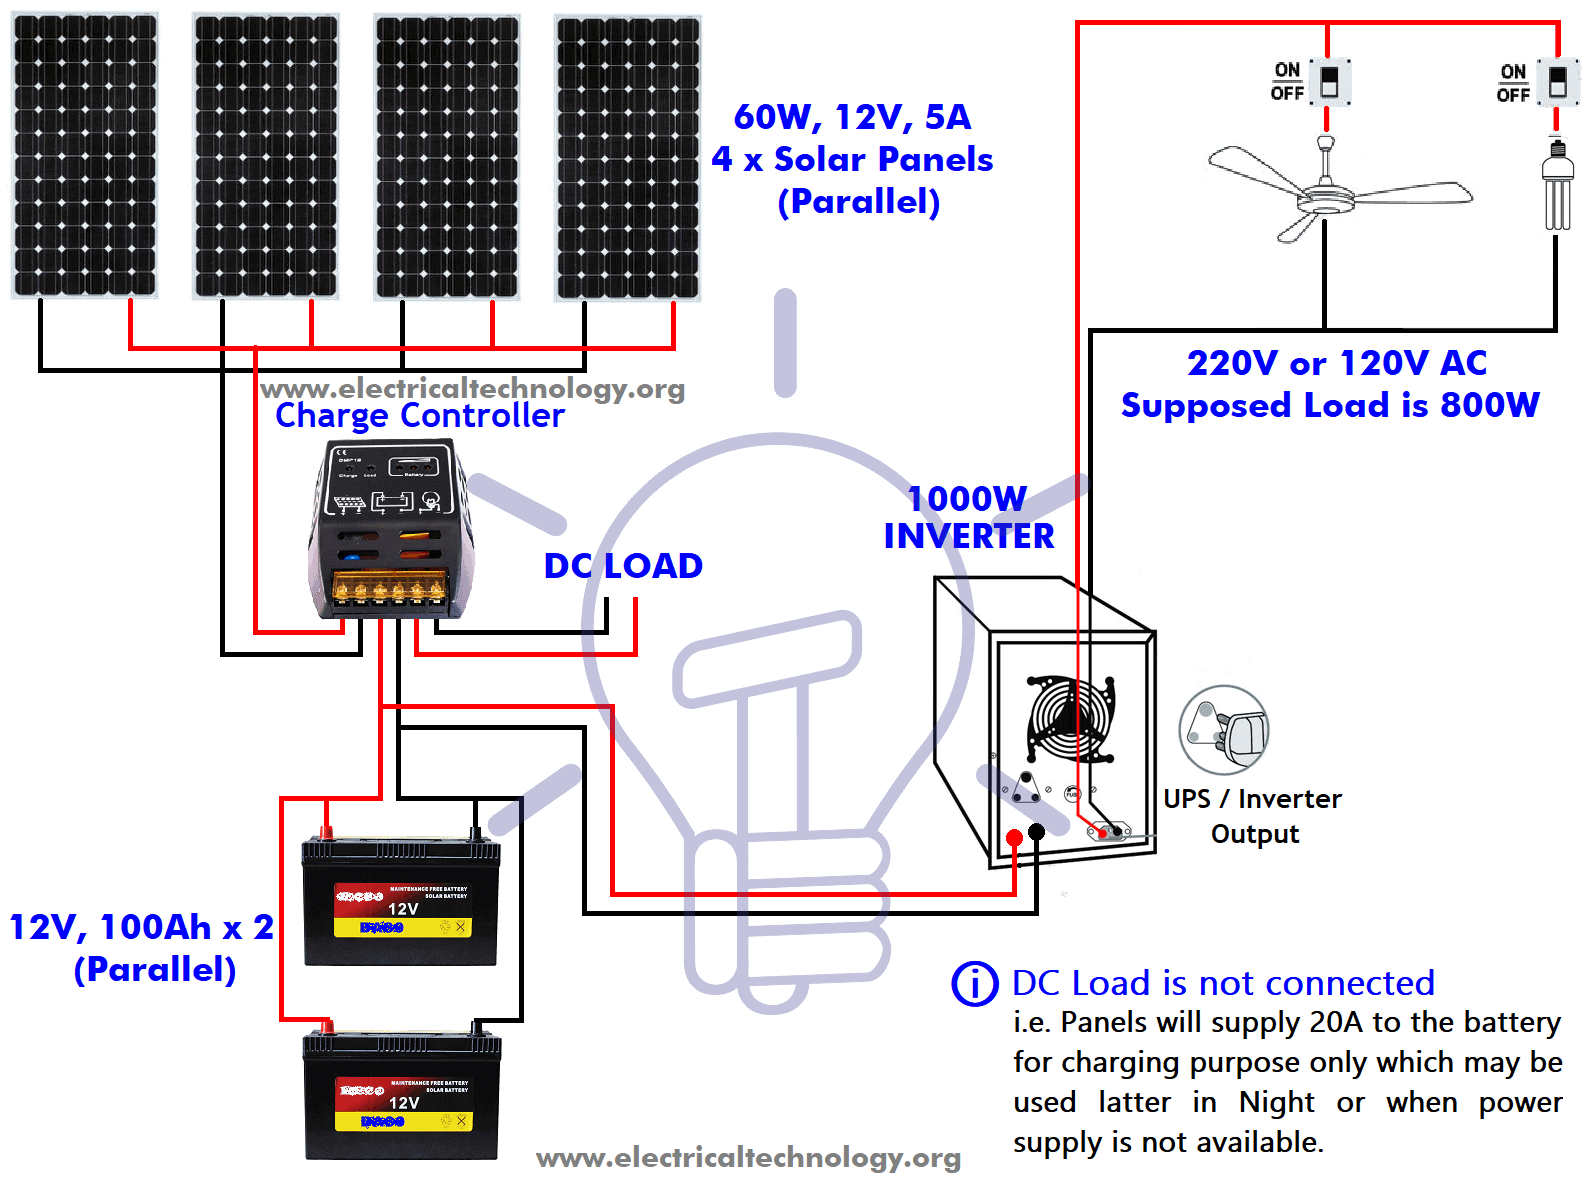
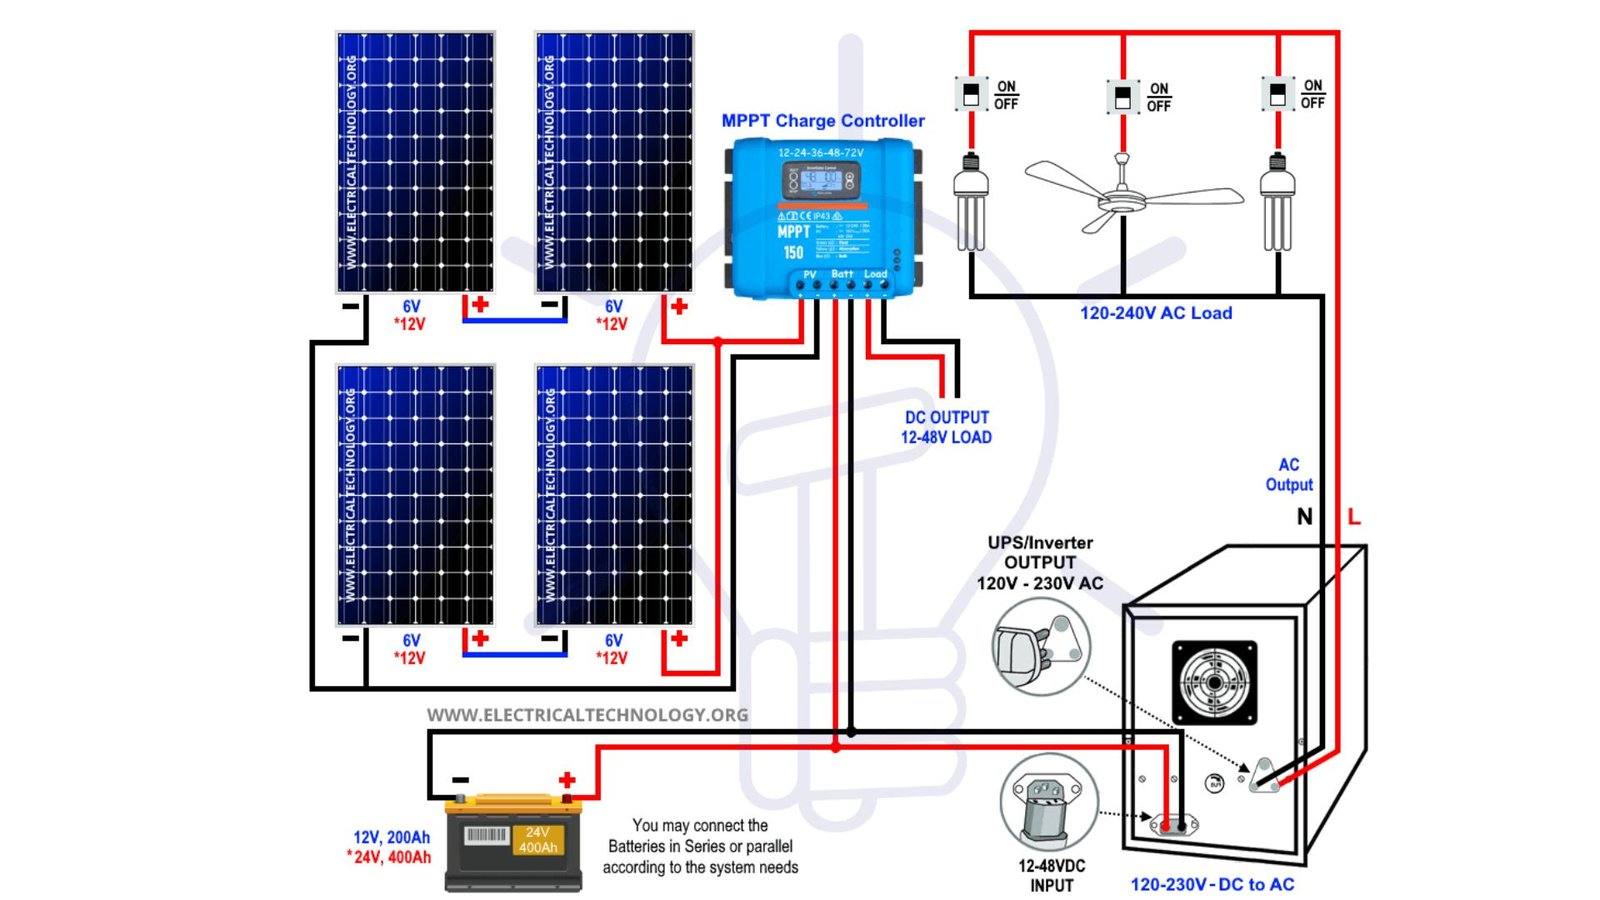
ALT TEXT: Detailed wiring diagram of a solar power system, showing connections between solar panels, inverter, and battery.
A solar panel wiring diagram for home shows how all parts of your solar system connect and work together.
A wiring diagram is a simple visual map. It shows how your solar panels, batteries, inverter, and other parts link to each other.
Think of it like a road map for electricity. Without it, you would not know where the power flows or how to connect things safely.
Its main purpose is to guide you during setup and help you avoid mistakes that could damage your system or cause safety risks.
Why Wiring Diagrams Matter
Skipping the diagram is one of the biggest mistakes beginners make.
A proper diagram helps you:
- Plan your setup before buying any parts
- Follow a clear path during installation
- Spot errors before they become costly problems
- Stay compliant with local electrical codes
Getting the wiring right from the start saves you time, money, and stress.
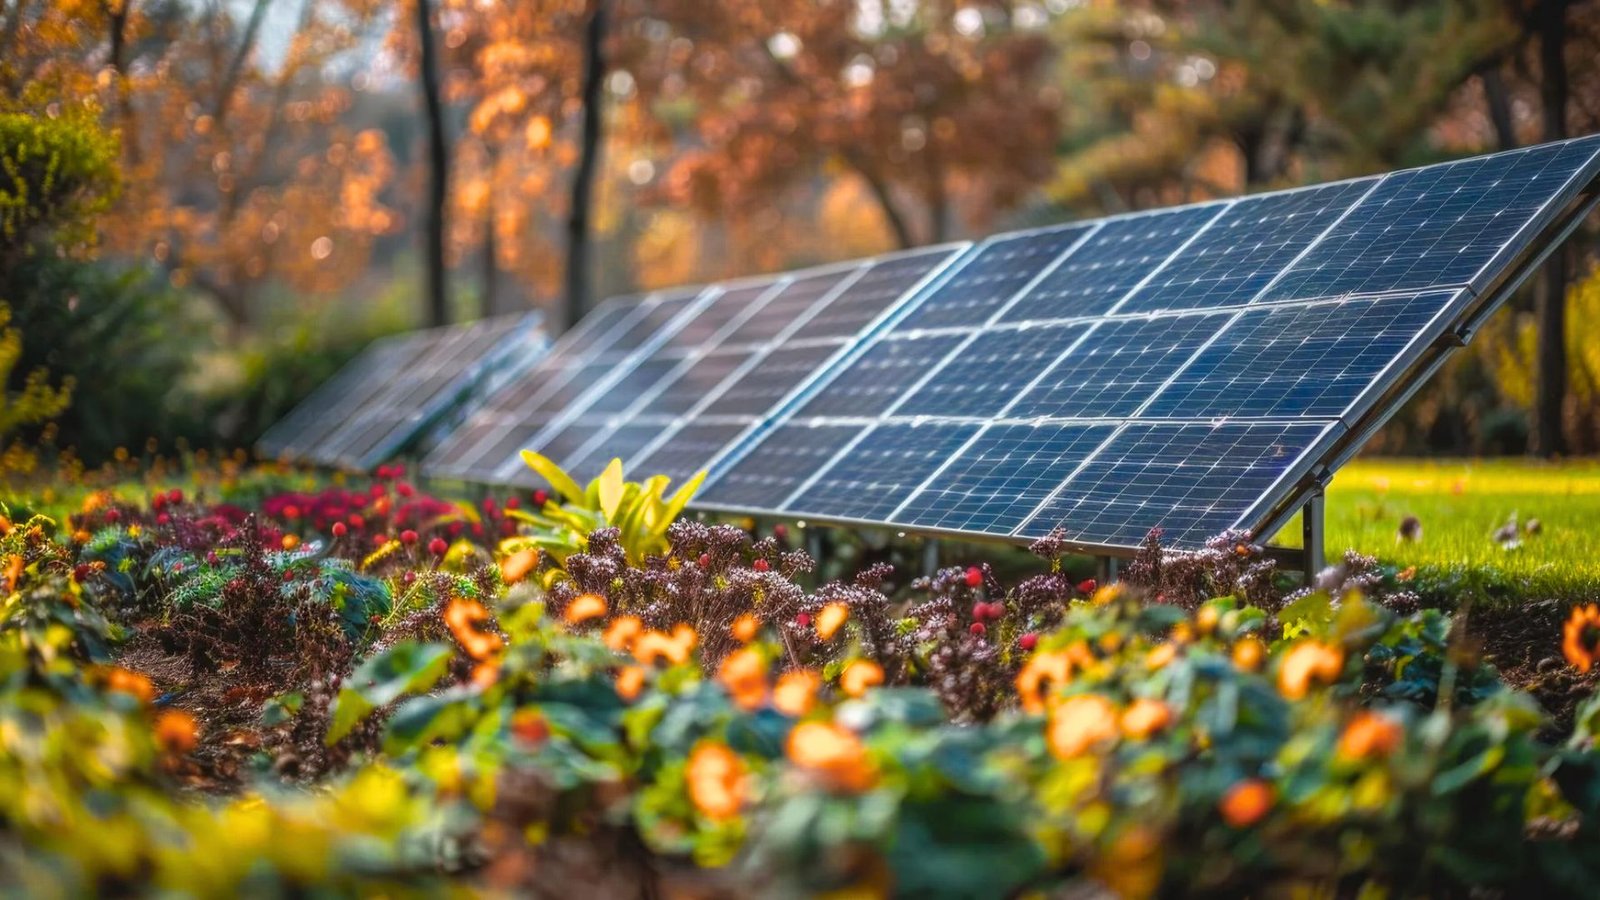
How Does a Home Solar System Work?
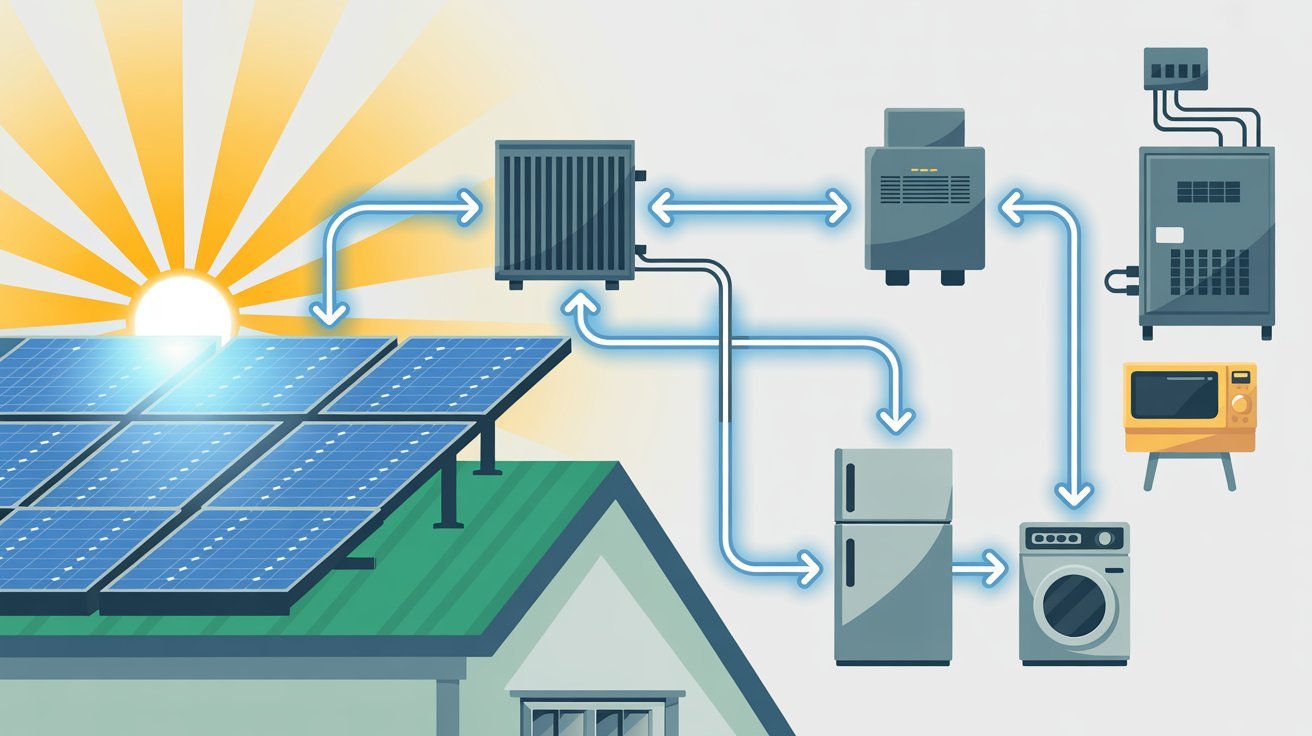
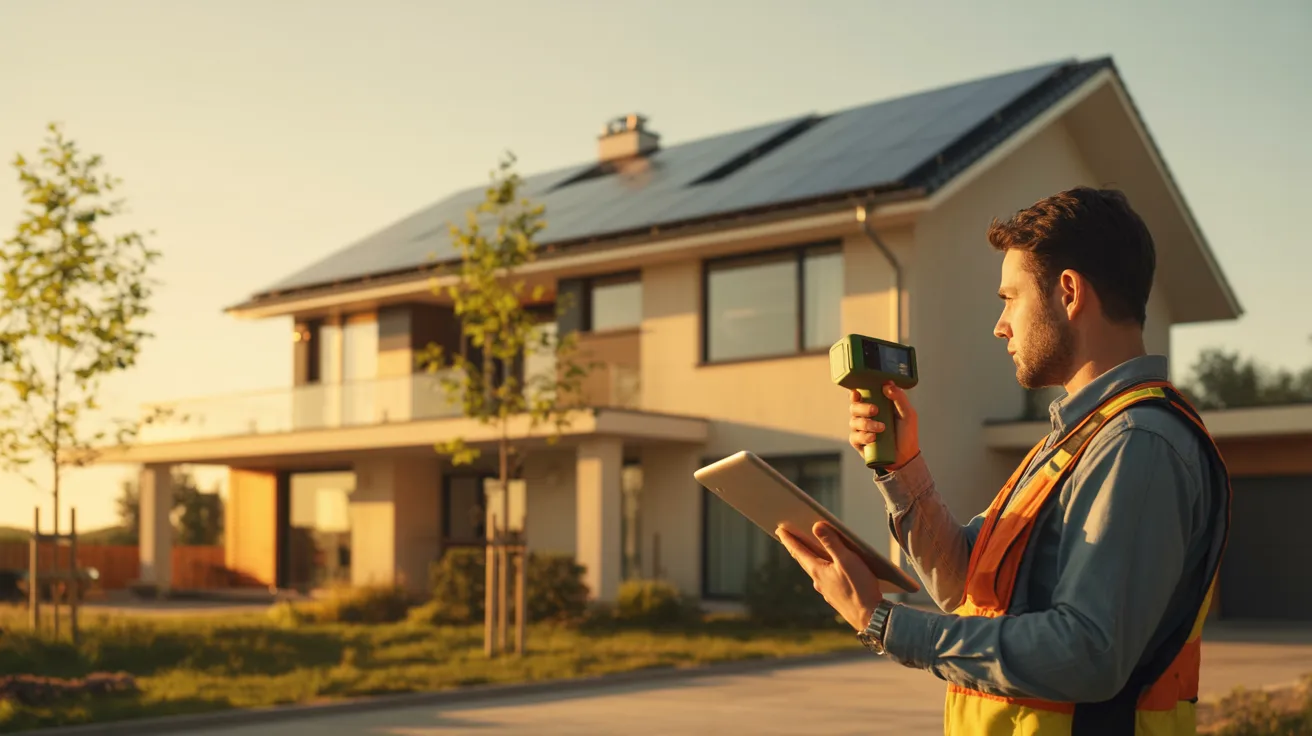
ALT TEXT: A residential solar power system with solar panels on the roof, designed to harness renewable energy for the home.
Before touching a single wire, you need to know how electricity actually moves through your solar set up. Let me break it down simply.
Flow of Electricity in a Solar Setup
Solar panels absorb sunlight and turn it into electricity. That electricity travels from the panels to an inverter.
The inverter sends usable power to your home’s electrical panel. From there, it powers your lights, appliances, and outlets.
The flow looks like this:
- Sunlight hits the solar panels
- Panels produce DC electricity
- Inverter converts DC to AC
- AC power enters your home panel
- Electricity runs through your home
It is a straightforward process once you see it laid out clearly.
Difference Between AC and DC Connections
Solar panels create DC (Direct Current) electricity, but your home appliances run on AC (Alternating Current) electricity.
That is why your solar system needs an inverter. It changes DC power into AC power so your home can use it safely.
Here is a simple comparison:
|
Feature |
DC Power |
AC Power |
|
Produced By |
Solar panels |
Inverter and utility grid |
|
Current Flow |
One direction |
Changes direction |
|
Main Use |
Battery charging |
Home appliances |
|
Travel Efficiency |
Better for short distance |
Better for long distance |
|
Used in Homes? |
No |
Yes |
Why does this matter? If AC and DC wiring are connected incorrectly, your system may not work properly. In some cases, it can also damage equipment.
That is why proper wiring and correct inverter setup are important.
Understanding Series vs Parallel Wiring
You can connect solar panels in two ways.
- Series wiring links panels end to end. This increases voltage while keeping current the same. It works well for long wire runs.
- Parallel wiring connects panels side by side. This keeps voltage steady but increases current. It performs better in partial shade conditions.
Many home systems use a mix of both. Knowing the difference helps you read any wiring diagram with confidence.
Important Components Needed for Solar Panel Wiring
Before you start wiring, you need to know what goes into a solar setup. Each part has a specific job. Miss one, and the whole system can fail.
Here are the five main components you will need:
- Solar Panels: Solar panels are the starting point. They absorb sunlight and convert it into direct current (DC) electricity. The number of panels you need depends on your home’s energy usage. More panels mean more power output.
- Solar Inverter: The inverter changes DC electricity into alternating current (AC). AC is what your home appliances actually run on. Without an inverter, the power your panels generate is not usable inside your home.
- Charge Controller: A charge controller manages the flow of electricity going into your battery. It stops the battery from overcharging. This protects your system and makes your batteries last longer.
- Solar Batteries: Batteries store the extra energy your panels produce during the day. You can then use that stored power at night or during cloudy weather. Not every system needs batteries, but they add reliability.
- Safety Equipment and Wiring Accessories: This includes fuses, circuit breakers, disconnect switches, and the right gauge wiring. These parts keep your system safe from short circuits and electrical faults. Never skip on safety equipment.
Step-by-Step Solar Panel Wiring Diagram for Home Installation
Follow these seven steps to wire your home solar system correctly.
Step 1: Plan Your Solar Load Requirements
ALT TEXT: Diagram illustrating the wiring connections for a solar panel system, showing components and their interconnections.
List every appliance you use daily. Write down the watts each one uses and how many hours it runs per day.
Multiply watts by hours to get watt-hours. Add them all up.
This total is your daily energy requirement. It tells you exactly what size system you need.
Step 2: Select the Right Solar System Size
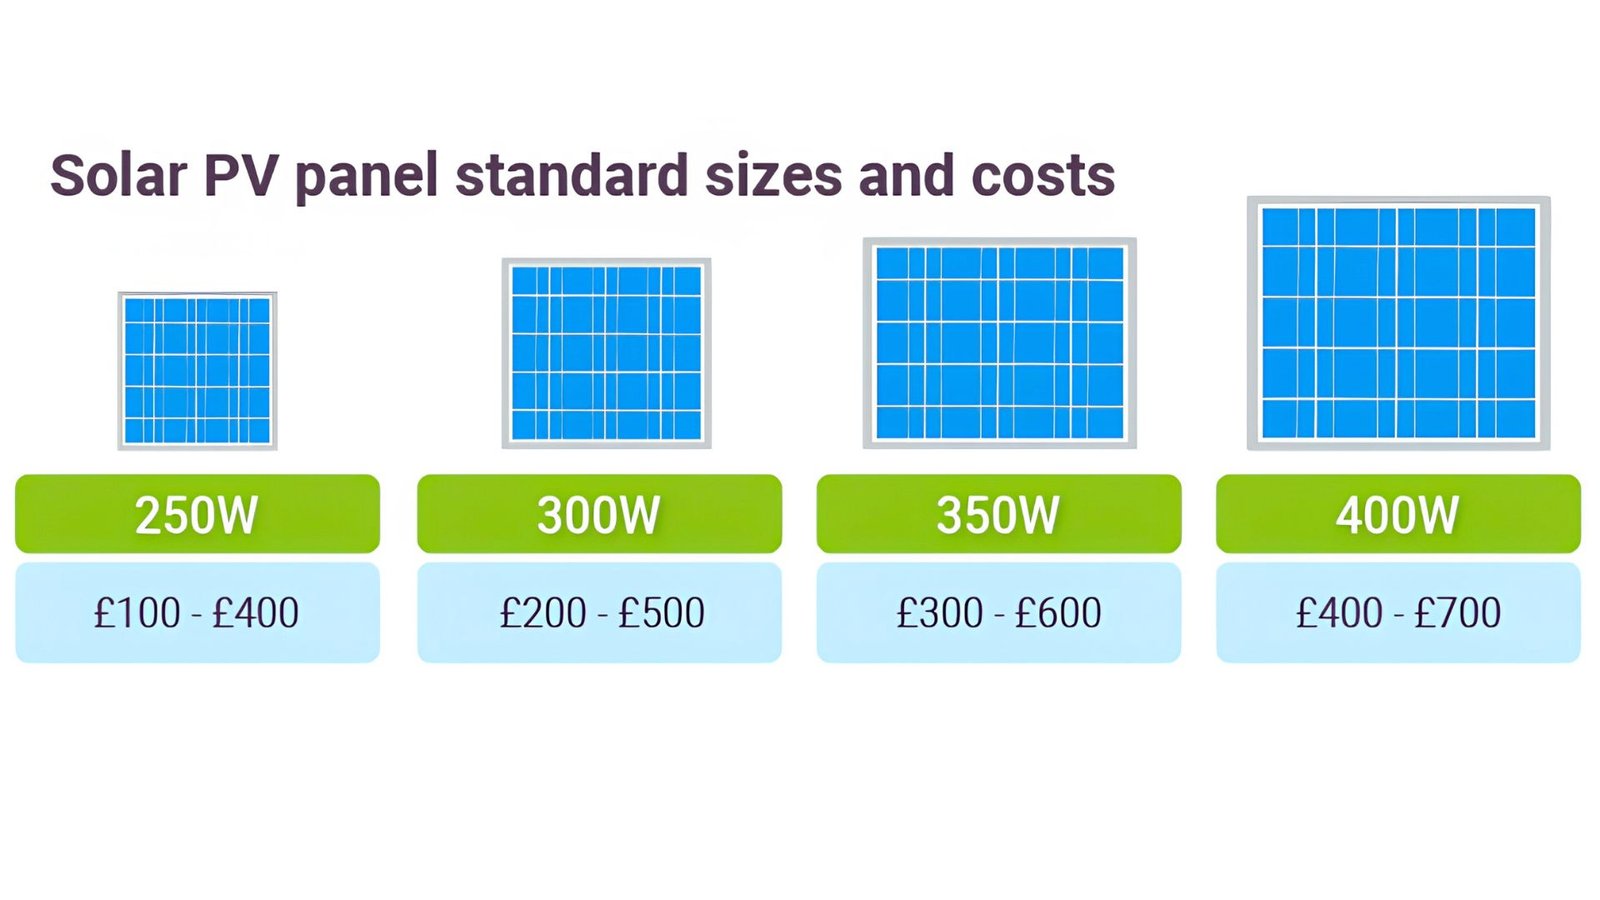
ALT TEXT: Infographic illustrating various solar panel sizes alongside their corresponding costs.
Match your system size to your daily energy requirement.
General guide:
- Small home – 1kW to 2kW
- Medium home – 3kW to 5kW
- Large home – 6kW and above
If you live in a low-sunlight area, size up slightly to cover cloudy days.
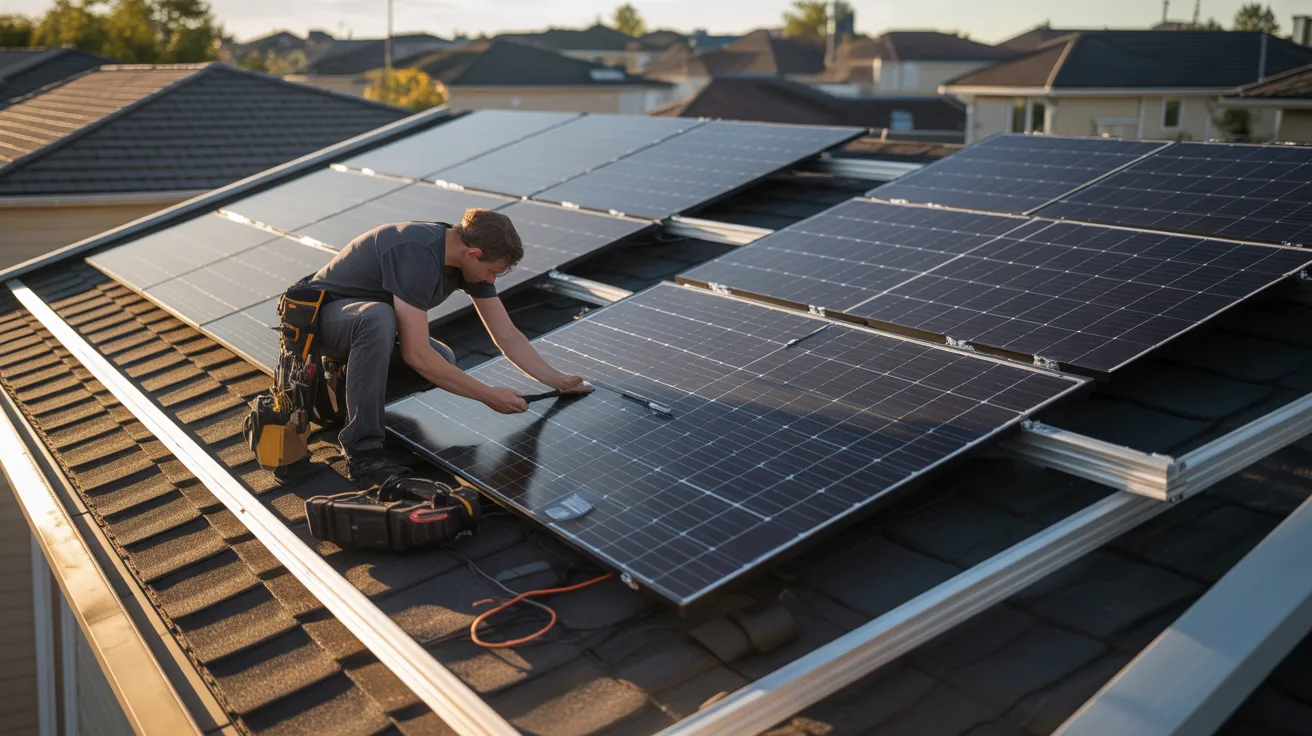
Step 3: Connect Solar Panels
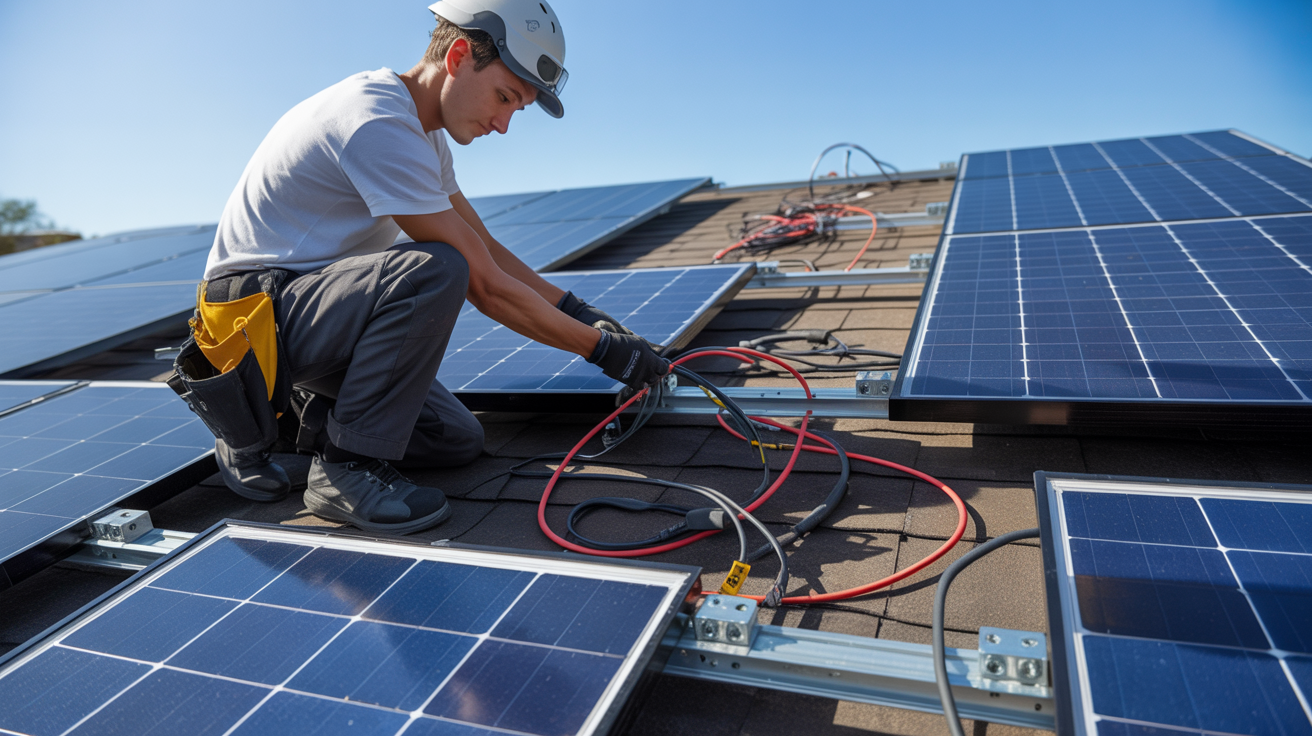
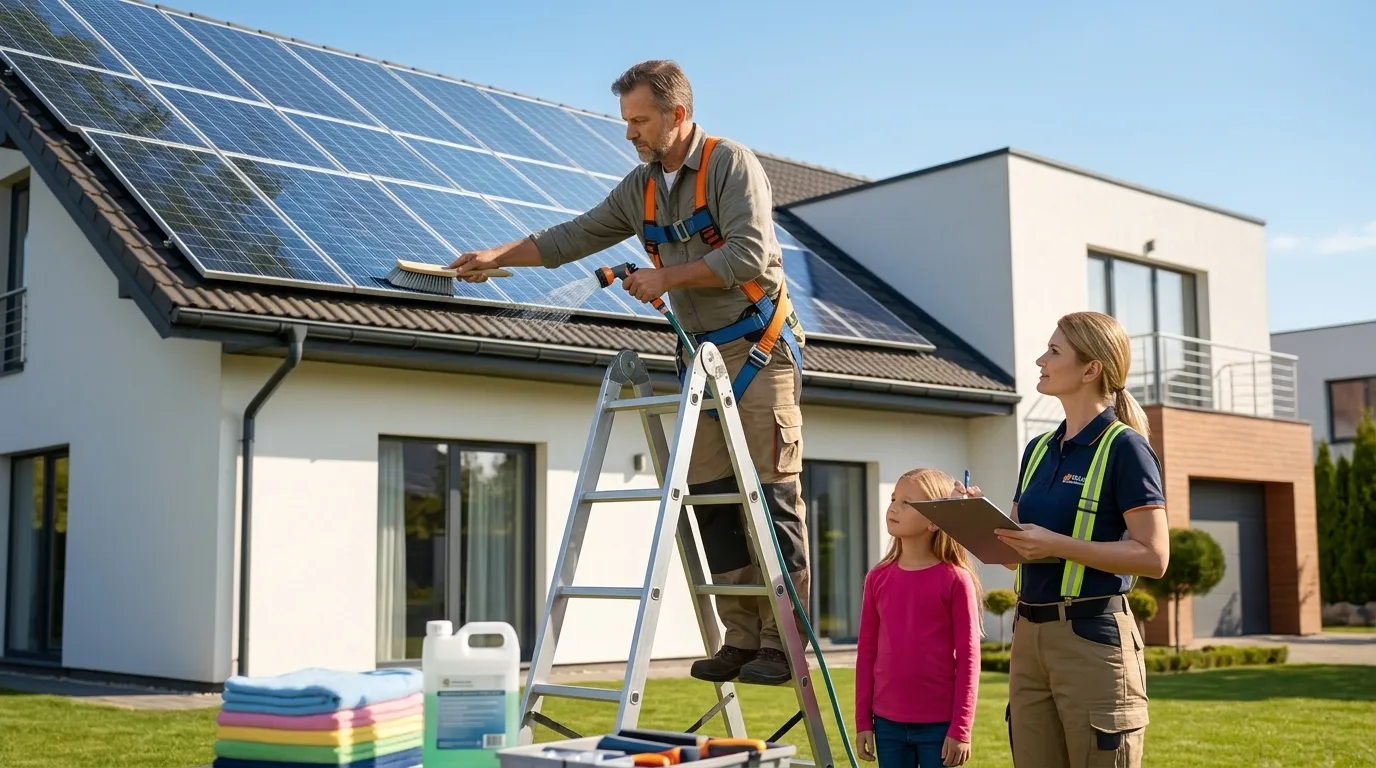
ALT TEXT: Technician connecting rooftop solar panels using series and parallel wiring with visible cables and connectors.
Panels connect in three ways:
- Series – adds voltage
- Parallel – adds current
- Series-Parallel – balances both
Most home systems use series-parallel wiring. Use the correct wire gauge to avoid heat buildup.
Step 4: Connect Panels to Charge Controller
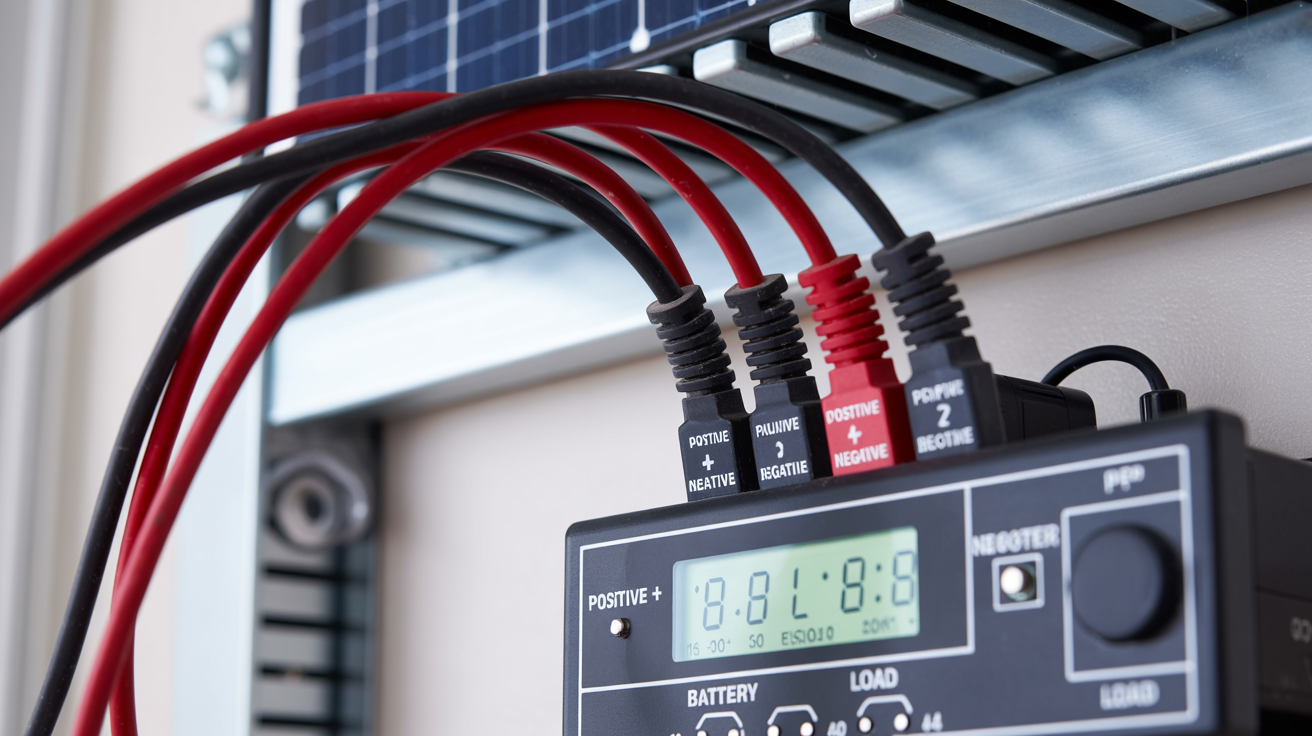
ALT TEXT: Solar panel wires connected to an MPPT charge controller with labeled positive and negative terminals.
Run wires from the panels to the charge controller input. Match positive to positive and negative to negative.
Two controller types:
- PWM – basic, works for small systems
- MPPT – more efficient, better for larger systems
Step 5: Battery Connection Setup
Connect the charge controller output to your battery bank.
- Series – increases voltage
- Parallel – increases capacity
Always install a fuse between the battery and system. This prevents short circuits.
Step 6: Inverter Wiring
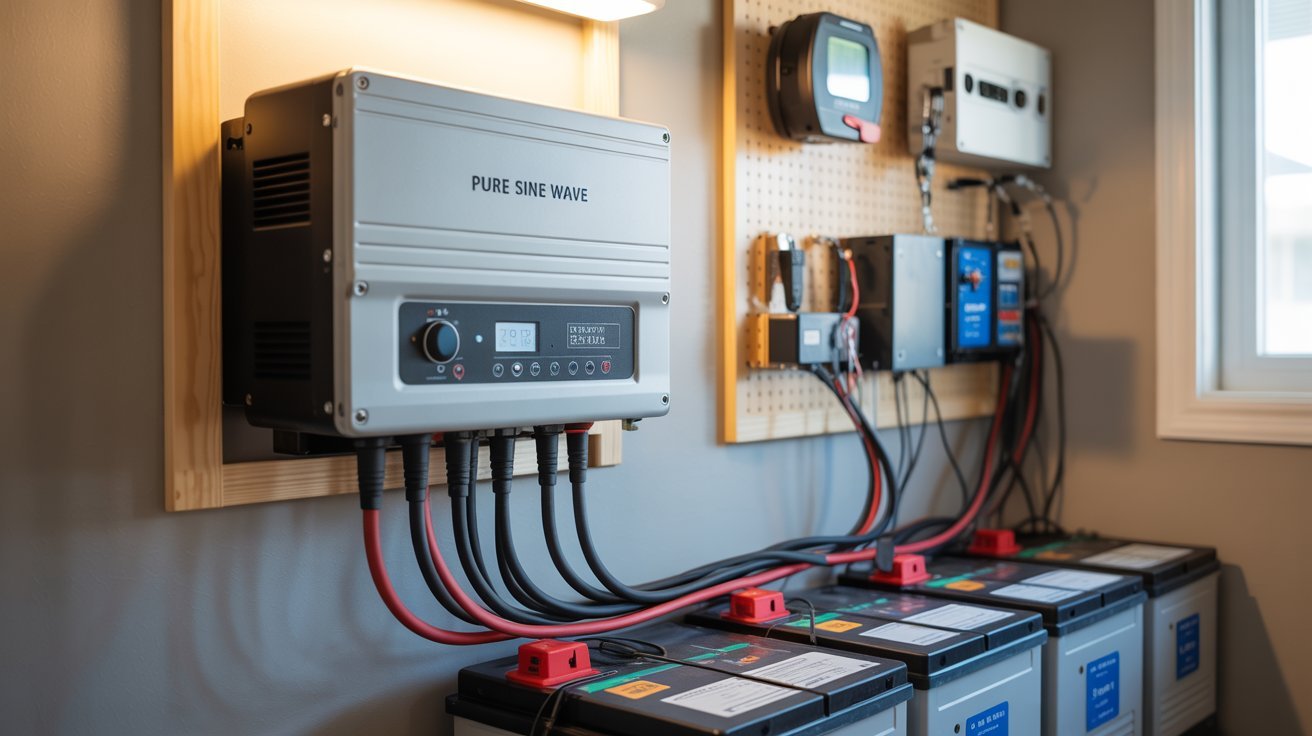
Connect the inverter directly to the battery bank using short, thick cables. Use a pure sine wave inverter for home use. It works safely with all appliances.
Match the inverter input voltage to your battery bank voltage: 12V, 24V, or 48V.
Step 7: Final AC Distribution Connection

Connect the inverter AC output to your home’s distribution board.
- Install a dedicated solar circuit breaker
- Label all wires clearly
- Have a licensed electrician handle the final board connection
Turn the system on in order: charge controller first, then batteries, then inverter. Check for any heat or unusual sounds before full use.
You’re right! Let me make it tighter, more engaging, and easier to read.
Safety Tips for Solar Panel Wiring at Home
Solar wiring can save you money. But one wrong move can cost you much more. Safety is not optional here.
- Wear insulated gloves. Use rated tools. Never work alone. Solar panels generate power even on cloudy days, so never assume they are off.
- Every panel frame, inverter, and metal part must be earthed correctly. Without it, a fault can send dangerous voltage straight into your home.
- Grid connection, breaker box work, and main panel wiring need a licensed electrician. If something feels beyond your skill level, stop and call one.
Common Problems in Solar Panel Wiring and Solutions
Solar wiring problems are more common than most people think. Even a small wiring mistake can affect your whole system.
Knowing what to look for saves you time and money.
Low Power Output
Your panels may be getting full sun but still producing less power than expected. This usually points to a wiring problem.
Common causes include:
- Loose or corroded wire connections
- Wrong wire gauge for the current load
- Panels wired in the wrong configuration
Check all connections first. Tighten any loose terminals and look for rust or burn marks.
Battery Not Charging Properly
If your battery is not charging, the issue often sits between the charge controller and the battery bank.
Look for:
- Reversed polarity connections
- A faulty or misconfigured charge controller
- Undersized wiring causing voltage drop
Always match your wire size to the amperage running through it.
Inverter Issues
An inverter that shuts off or gives error codes is usually getting bad input. This ties back to wiring.
Common fixes include:
- Checking DC input wire connections
- Making sure the inverter is properly grounded
- Confirming wire polarity is correct
Fix the wiring first before replacing any parts.
Cost Factors for Home Solar Wiring Installation
The cost of solar wiring depends on your system size, equipment quality, and labor charges. A small home setup costs much less than a larger system with battery backup.
Here is a quick breakdown:
|
Cost Factor |
Average Cost |
|
Solar Panels |
$800 – $2,500 |
|
Inverter |
$500 – $2,000 |
|
Battery Storage |
$1,000 – $6,000+ |
|
Wiring and Accessories |
$300 – $1,500 |
|
Installation Labor |
$50 – $100 per hour |
Battery systems cost more upfront, but they provide backup power during outages.
Most homeowners recover their installation costs within 6 to 10 years through lower electricity bills.
Conclusion
A solar panel wiring diagram for home is not just a technical drawing. It is your safety net and your starting point.
When I first looked at one, it felt overwhelming. But once I understood each part, everything clicked.
You now have the knowledge to plan, wire, and set up your system the right way.
Found this helpful? Drop a comment below or share it with someone going solar. I would love to hear how your installation goes.
Frequently Asked Questions
Can I wire solar panels myself without an electrician?
You can handle basic wiring yourself. But grid connection and breaker box work must be done by a licensed electrician.
What wire size do I need for solar panels?
Wire size depends on the current your system produces. Most home systems use 10 AWG or 12 AWG copper wire.
How many solar panels do I need for an average home?
A medium-sized home typically needs 10 to 20 panels. This depends on your daily energy use and local sunlight hours.
What happens to solar power on cloudy days?
Your panels still produce electricity on cloudy days, just less of it. A battery bank stores extra power for low-sunlight periods.
How long do solar panel wiring systems last?
Good quality wiring and components can last 20 to 25 years. Regular checks and proper installation help the system run longer.