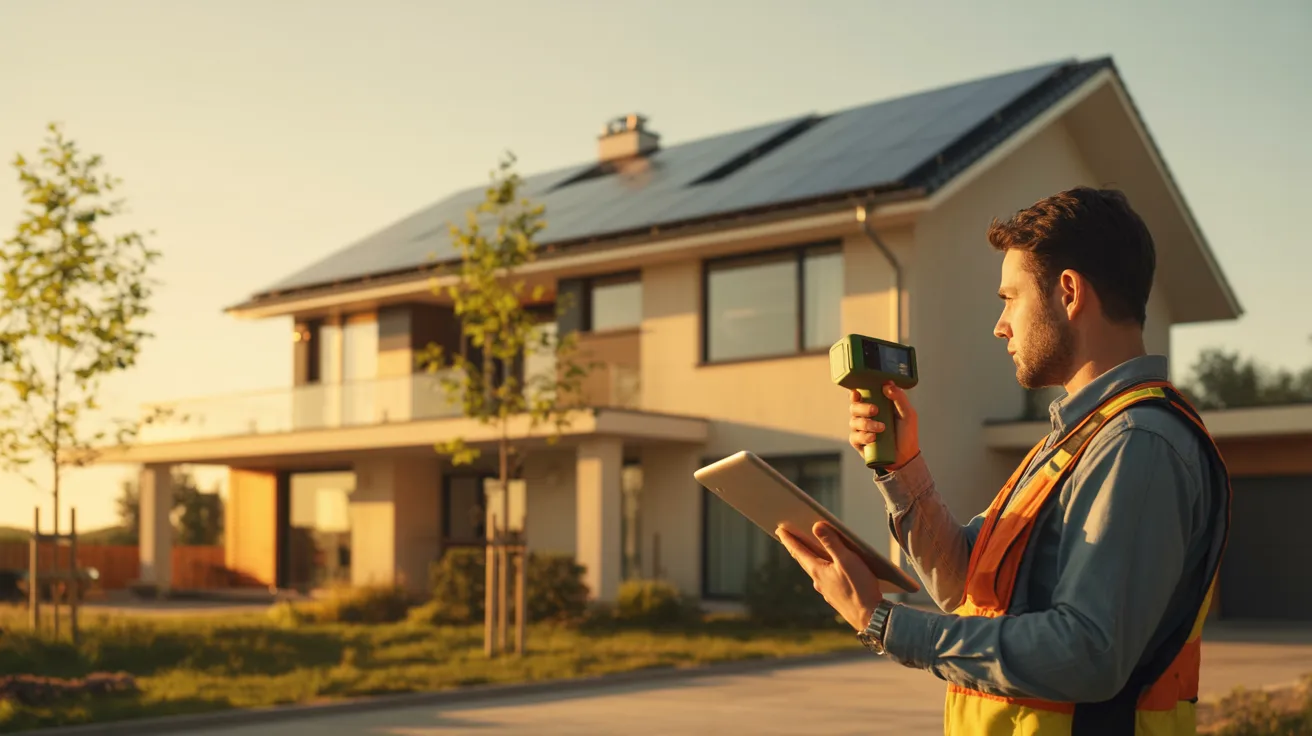


I get it. You’re building a new home and solar is everywhere right now. Everyone says it’ll save you money. But nobody tells you the full picture.
This guide on solar power new home construction covers the real costs, the planning process, and exactly how to set it up right from the start.
I’ve spent years writing about home builds and energy systems, so you’re getting straight answers, not fluff.
We’ll go over how to plan solar before construction begins, what it actually costs and how to finance it, system setup and installation steps, permits, tax credits, common mistakes, and long-term savings.
Let’s get into it.
Why Solar Planning Starts Before Home Construction
Most people think solar is something you add after the house is built. That’s a costly mistake.
Planning solar during construction means the roof gets the right angle, wiring runs during framing, and the electrical panel gets sized correctly from day one.
Everything costs less when it happens at the right time. Adding solar later means ripping into finished walls and paying labor costs twice.
Start the solar conversation before construction begins. That one step can save you thousands.
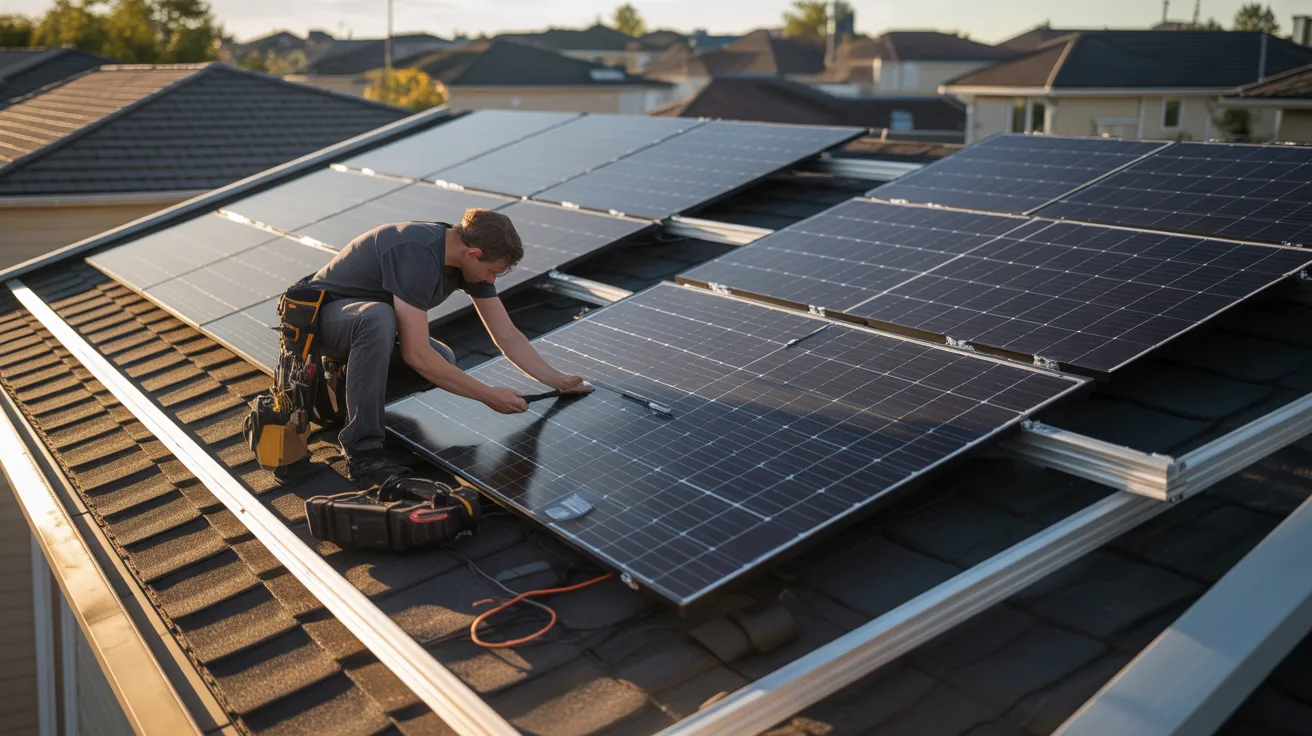
Roof Planning for Better Solar Performance
Your roof decisions during framing directly affect solar performance for the next 25+ years. Get it right now and avoid costly fixes later.
-
Best Roof Direction for Solar Panels
-
Roof Pitch Recommendations by Location
-
Why Large Roof Sections Improve Panel Layout
-
Roof Materials That Work Well With Solar Panels
-
Pipe and Vent Placement During Framing
South-facing roofs get the most sun in the Northern Hemisphere. East or west-facing roofs still work but lose 10 to 20 percent output. North-facing panels are the weakest option. If a perfect south orientation isn’t possible, southeast or southwest works fine.
Match your roof pitch to your latitude as a starting point. Southern states do well with a 15 to 25 degree pitch. Northern areas benefit from 30 to 45 degrees to shed snow and catch low winter sun. Flat roofs work too with angled mounting brackets.
Hips, valleys, and dormers break up your roof into small awkward sections. One large, open, south-facing plane lets installers place panels in clean rows, keeps wiring simple, and reduces shading.
Asphalt shingles are easy to mount and very common. Metal roofs are the best option since clamps attach without drilling. Tile roofs work but need special hardware. Wood shake or slate are fragile and best avoided.
Roof vents and pipes cast shadows and waste space on your best solar sections. During framing, move all roof penetrations to the north side. It costs nothing extra at this stage and keeps your south-facing roof clean for panels.
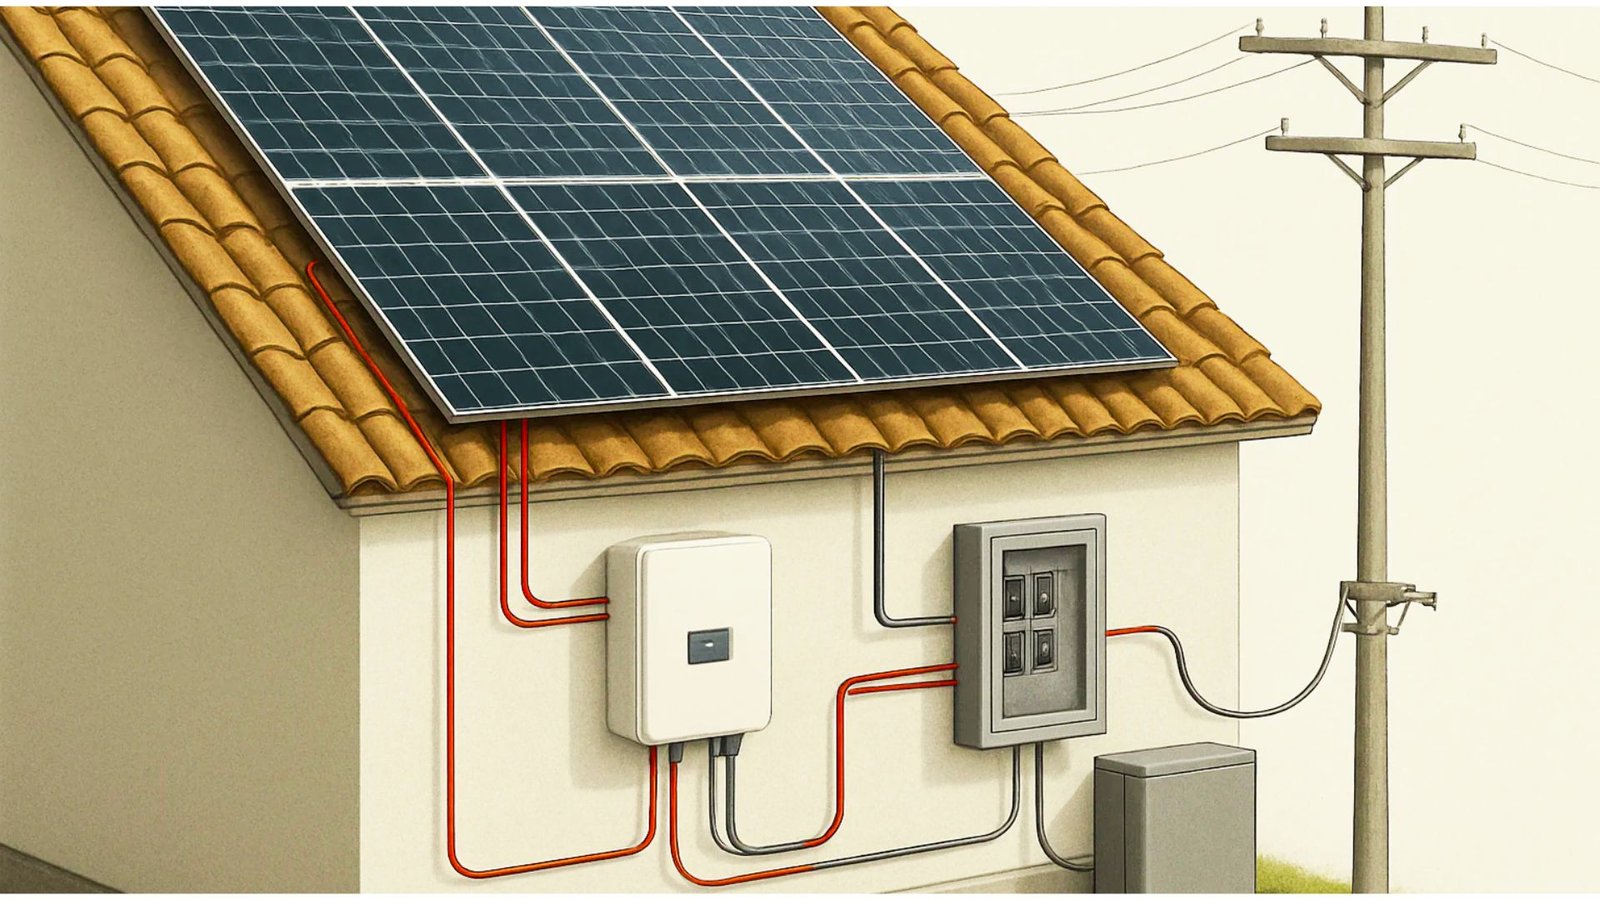
Electrical Planning for Solar Power New Home Construction
Good electrical planning during construction saves you thousands later. Get your wiring, panels, and conduit right before the walls go up.
-
Why 400 Amp Electrical Service Is Recommended
-
Splitting Service Into Two 200 Amp Panels
-
Planning Inverter Placement Before Drywall
-
Running Conduit Through Walls and Foundations
-
Internet Connection Options for Solar Monitoring
Most homes run on 200 amp service. For a solar home with EV chargers and a battery backup, that’s not enough.
400 amp service gives you room to grow. Upgrading after construction is expensive. Do it now while the work is already open.
Two 200 amp panels give you 400 amp total. One handles everyday loads like HVAC and lighting. The other handles solar, batteries, and EV charging.
It keeps the system clean, easy to manage, and safer overall.
Inverters need ventilation and a cool spot. A garage wall or utility room works well. An attic does not.
Lock in the location before drywall goes up. Moving it later means extra labor and added cost.
Run empty conduit during framing, even if solar isn’t going in right away. It routes wiring from your roof to your panels without cutting through finished walls later.
Treat it like rough-in plumbing. Simple to do now, costly to do later.
Your solar system needs the internet to send data to your monitoring app. Wi-Fi works for most homes. A wired ethernet connection is more reliable.
Run a network cable to your inverter location during construction. It takes minutes now and saves hassle later.
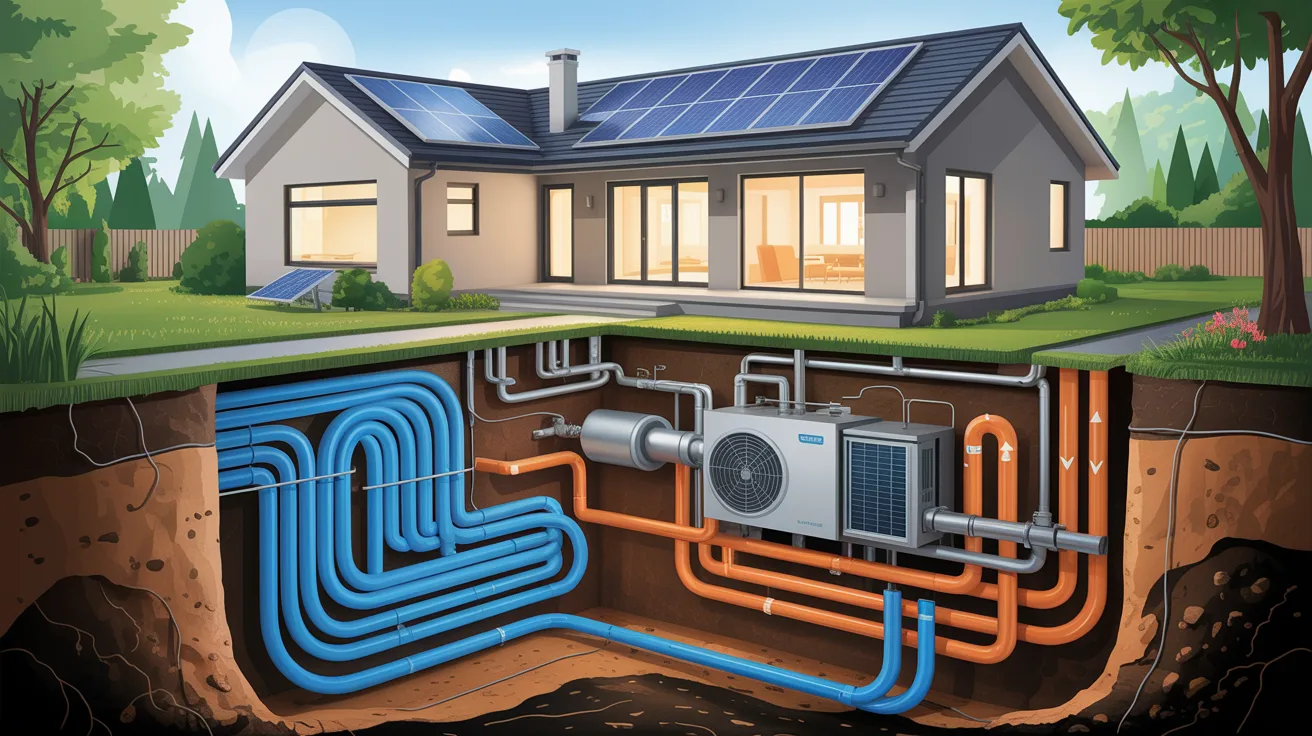
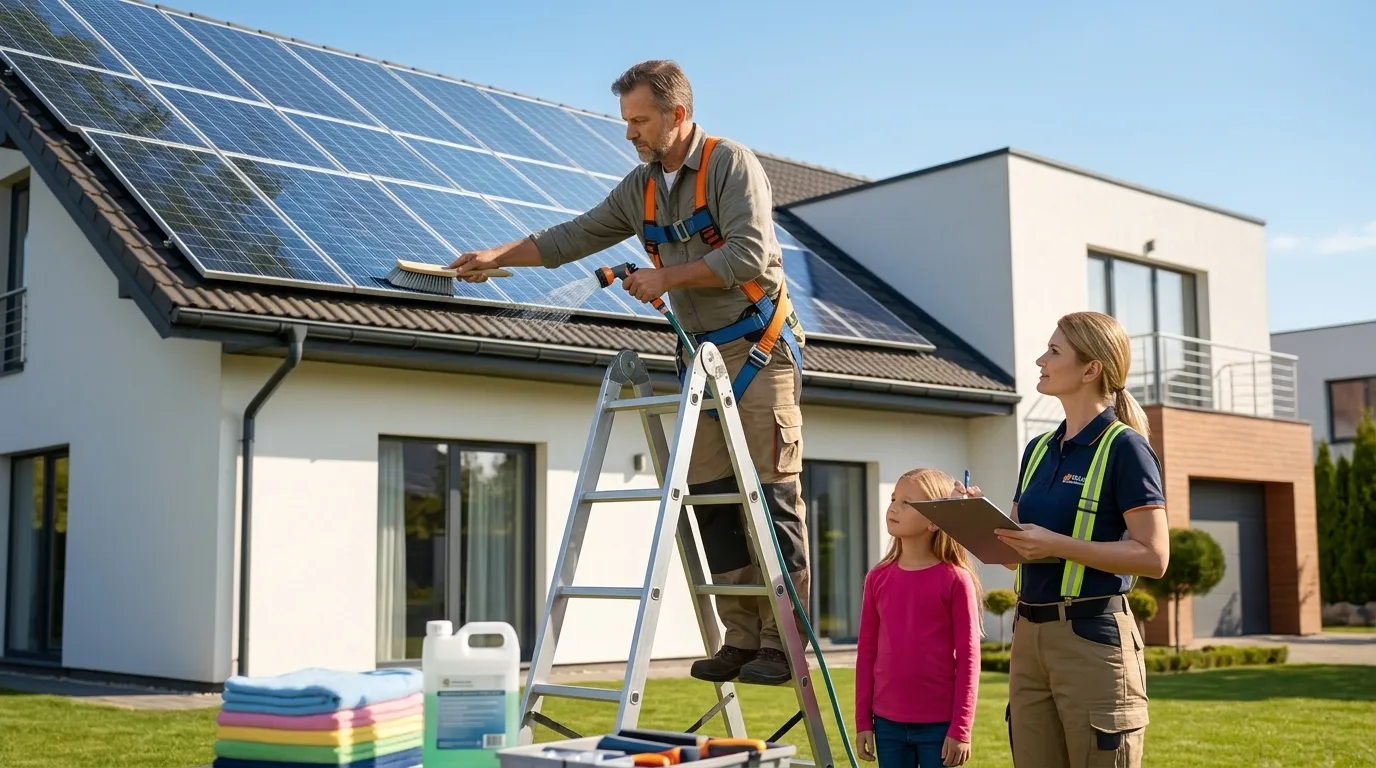
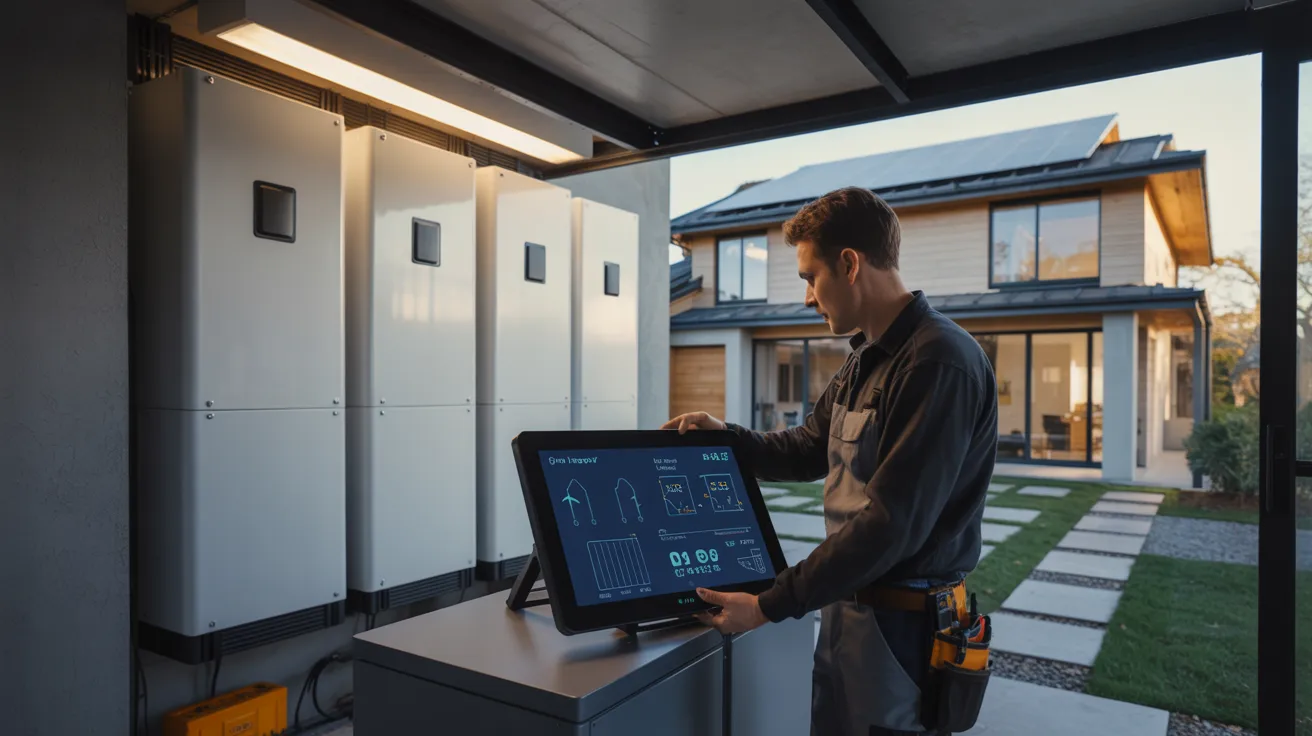
Battery Storage and Backup Power Options
Solar panels stop producing power when the grid goes down. A battery keeps your home running. Here’s what to know before you choose one.
Backup Power During Outages: Solar panels shut off during grid failures, but a battery keeps essential appliances like lights, refrigerators, Wi-Fi, and medical devices running without the noise or fuel needs of a generator.
Lower Energy Bills: A battery stores extra solar energy generated during the day and uses it at night. This reduces your dependence on the grid and can lower monthly electricity costs over time.
Indoor vs Outdoor Placement: Batteries can be installed indoors or outdoors, but extreme heat and cold can reduce efficiency and shorten lifespan. A garage or utility room is usually the best option because it stays more climate-controlled.
Fire-Rated Safety Requirements: Many local building codes require batteries to be installed in fire-rated spaces with approved walls, ceilings, and doors. Planning this during construction is much easier and less expensive than retrofitting later.
Tax Credits and Rebates: In the U.S., home batteries paired with solar often qualify for the federal 30% tax credit, and some states offer additional rebates that help reduce upfront installation costs.
Long-Term Home Value: While batteries add to the initial project cost, they provide long-term savings, better energy security, and can increase the resale value of a solar-ready home.
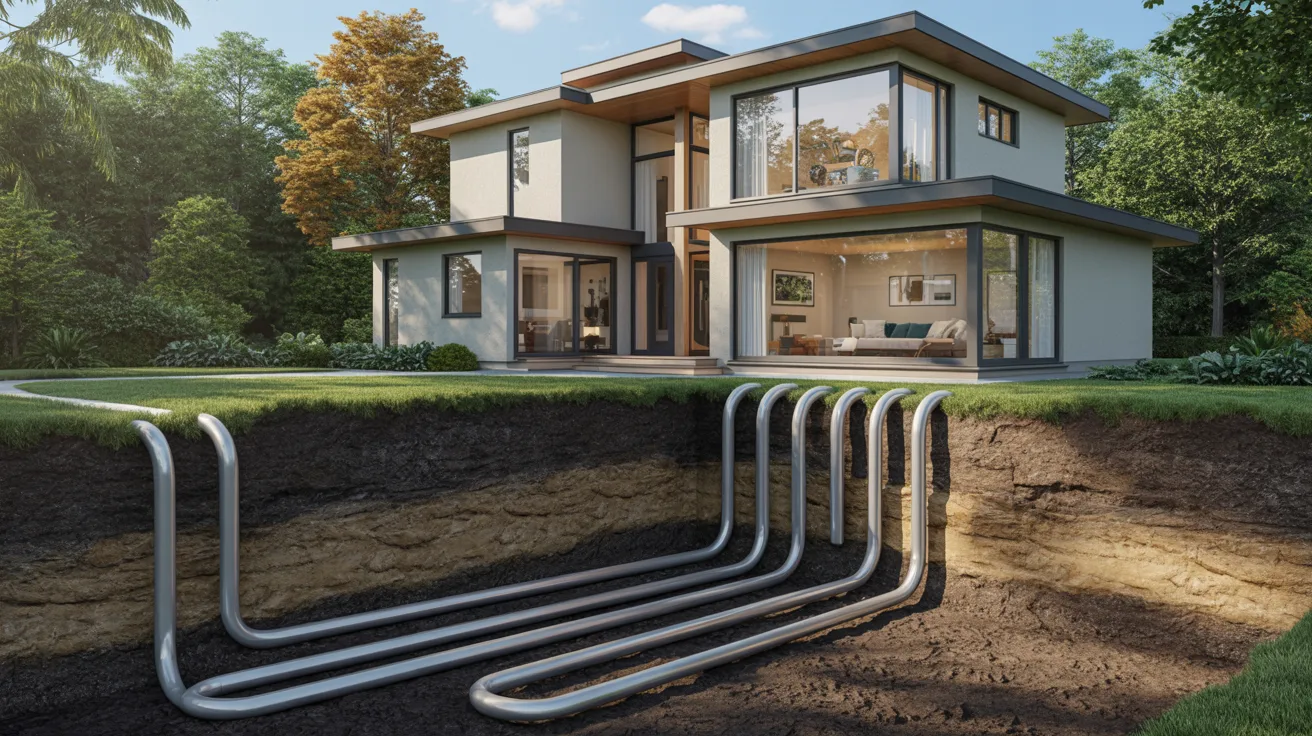
Ground-Mount Solar Planning Steps
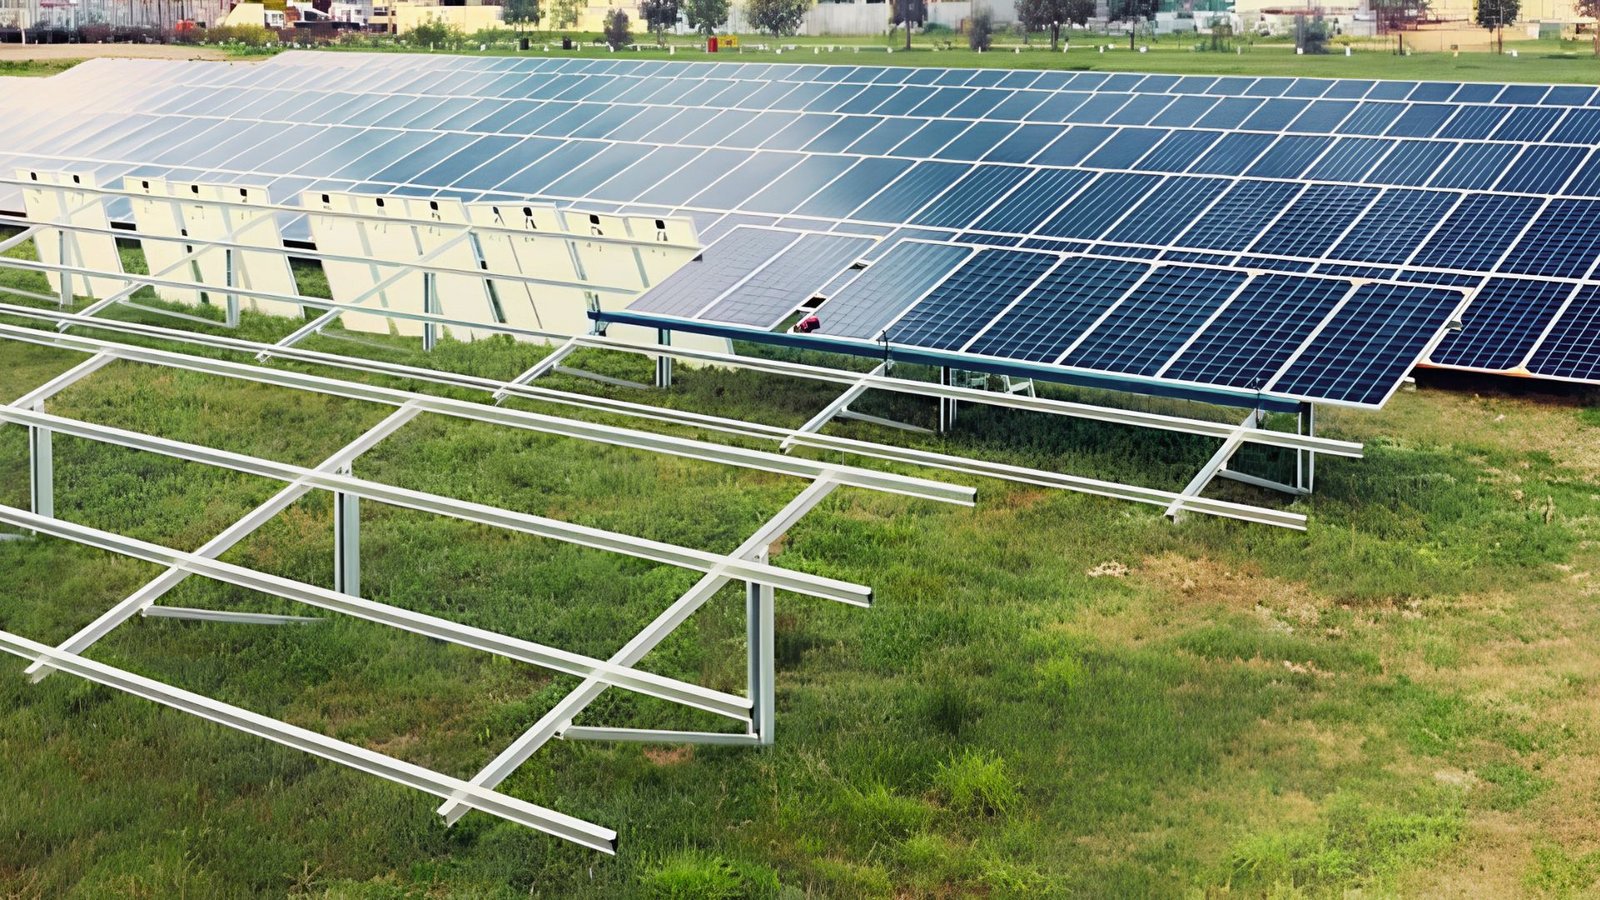
Not every home is built for rooftop solar. If your roof is shaded, oddly shaped, or just not ideal, a ground-mount system is a solid option. Here’s how to plan it right.
Step 1: Check Your Available Land
You need open, unshaded land to make this work. A standard 10kW ground-mount system needs roughly 600 to 800 square feet of clear space.
Walk your property. Look for areas with full sun exposure from morning to late afternoon. Avoid spots near trees, fences, or structures that cast shadows.
Step 2: Look Into Local Permits and Setback Rules
Ground-mount systems are treated as structures in most areas. That means permits, inspections, and setback requirements from property lines.
Check with your local building department early. Some areas also require HOA approval. Getting this sorted before installation avoids costly delays.
Step 3: Plan the Trenching for Underground Wiring
Your panels sit outside but connect to your home’s electrical system. That means running conduit underground from the array to your main panel.
Do this during construction if possible. Trenching through a finished yard costs more and disrupts landscaping.
Step 4: Pick the Right Mount Type
Fixed mounts are simple and affordable. They sit at a set angle and don’t move.
Tracking mounts follow the sun through the day and generate more power. They cost more upfront but can increase output by 20 to 30 percent.
For most homeowners, fixed mounts hit the better cost-to-value balance.
Step 5: Coordinate With Your Solar Installer Early
Bring your installer in before construction wraps up. They can assess the site, confirm the best location, and make sure the underground conduit goes in the right place the first time.
Exterior Equipment Placement and Home Design
Where you place solar equipment outside affects both performance and how the home looks. Plan this during design, not after construction.
-
Roof Design and Panel Placement
-
Battery and Inverter Outdoor Placement
-
Garage Integration for Solar Equipment
-
Keeping Equipment Out of Plain Sight
South-facing roof sections get the most sun. That’s where your panels belong.
Avoid areas with vents, chimneys, or shade from trees. Talk to your solar installer before the roof design is finalized so pitch and orientation are built in from the start.
If you’re mounting equipment outside, keep it on a shaded wall away from direct afternoon sun. Heat hurts battery performance over time.
A north or east-facing wall works best. Make sure it’s also easy to access for maintenance.
The garage is one of the best spots for solar equipment. It’s cool, has wall space, and conduit runs are straightforward.
If you’re adding an EV charger too, keeping everything in the garage simplifies wiring and makes servicing much easier.
You don’t have to stare at inverters and conduit every day.
Work with your builder to tuck equipment on side walls, behind fencing, or inside utility areas. A little planning now keeps the exterior looking clean without affecting how the system performs.
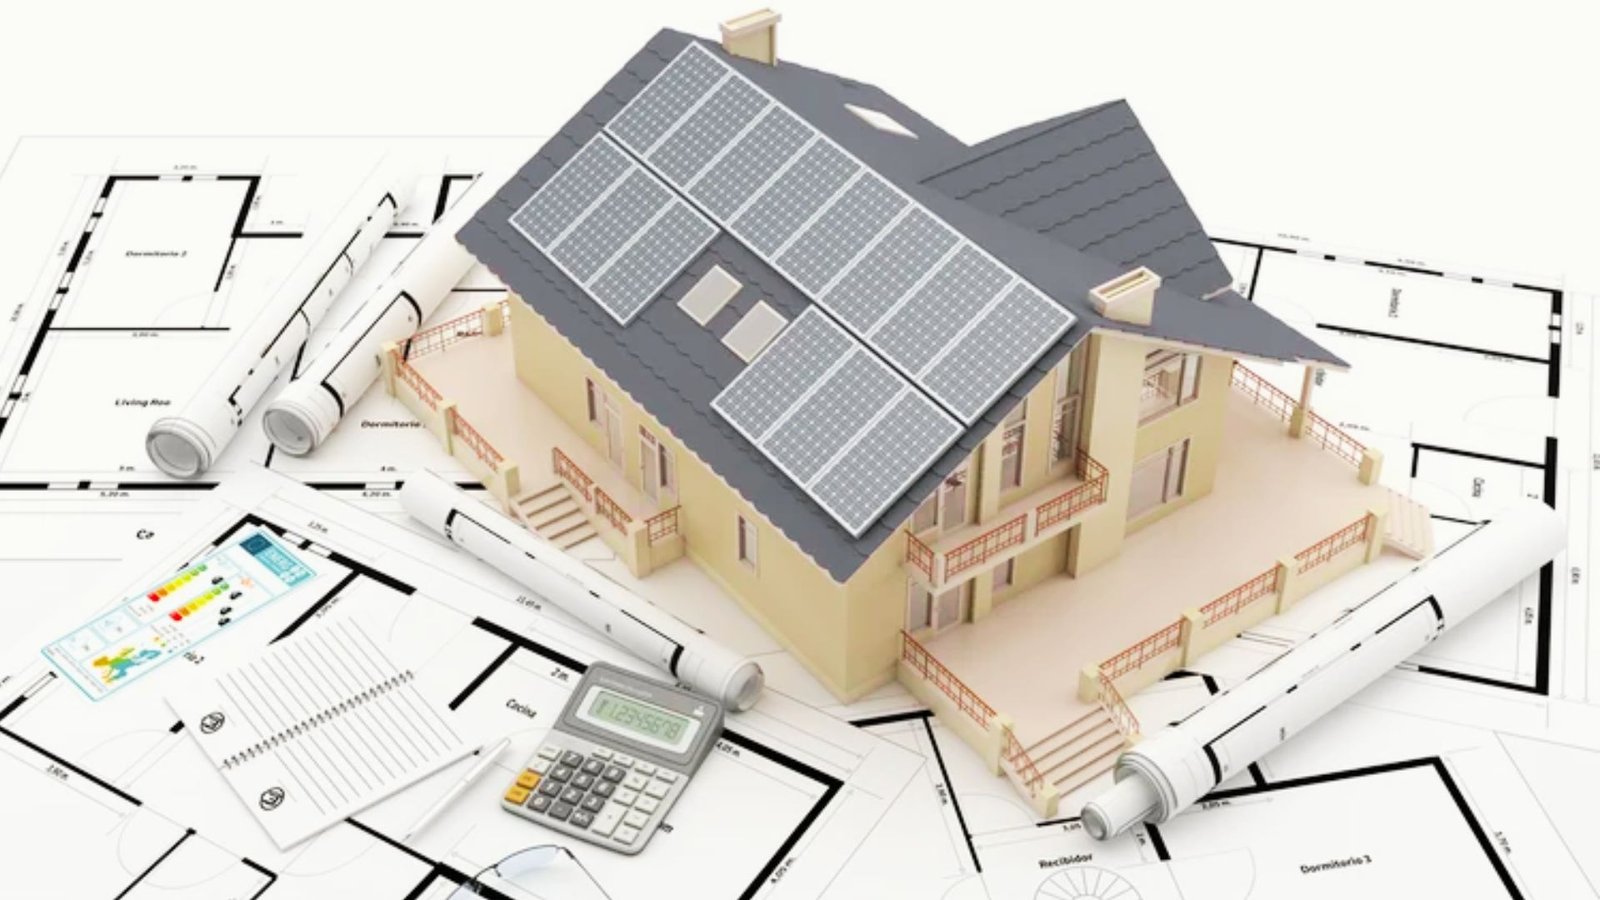
Costs, Savings, and Return on Investment
Solar is a real financial decision. Know what you’ll spend, what you’ll save, and how long it takes to break even before you commit.
|
Topic |
Key Details |
|
Average System Cost |
A typical residential solar system costs between $15,000 and $30,000 before incentives. Final price depends on system size, panel brand, and installer rates in your area. |
|
Federal Tax Credit |
The federal solar tax credit lets you deduct 30% of your total system cost from your federal taxes. On a $20,000 system, that’s $6,000 back. |
|
Monthly Savings |
Most homeowners save between $100 and $200 per month on electricity. Savings depend on your energy usage, local utility rates, and system output. |
|
Payback Period |
Most solar systems pay for themselves in 6 to 10 years. After that, electricity is essentially free for the remaining life of the system. |
|
System Lifespan |
Solar panels last 25 to 30 years. Most come with a 25-year performance warranty from the manufacturer. |
|
Financing Options |
You can pay cash, take a solar loan, or use a lease. Cash gives the best long-term return. Loans are the next best option for most buyers. |
|
Battery Storage Cost |
Adding a home battery like a Tesla Powerwall adds $10,000 to $15,000 to your total cost. It provides backup power and better energy control. |
Common Mistakes to Avoid During Solar Planning
Most solar problems in new builds don’t come from bad panels. They come from poor planning. Here’s what catches people off guard.
Small roof sections with limited panel space: Broken rooflines and dormers look great. But they leave almost no room for panels. Before locking in your roof design, run it by a solar installer first.
Poor roof direction and shading issues: South-facing is best. East and west work but produce less. And shading, even for a few hours a day, cuts output more than most people expect. Check for nearby trees and structures before you build.
Waiting until after construction for solar setup: This is the big one. Retrofitting solar means cutting walls, drilling concrete, and paying for work that should have been done during the build. Plan it from the start.
Using undersized electrical service: 200 amps feels like enough until you add a battery, solar system, and two EV chargers. It won’t be. Start with 400 amp service and save yourself the upgrade cost later.
Poor conduit and inverter placement: Short and direct conduit runs work best. Inverters in hot attics burn out fast. Give both some thought early and your system will last much longer.
Conclusion
Solar power new home construction is one of the smartest decisions you can make during a build.
I’ve seen homeowners skip the planning and regret it later. The ones who got it right planned early, sized their electrical correctly, and didn’t treat solar as an afterthought.
You now have everything you need to do it right.
Got questions or already building with solar? Drop a comment below. I’d love to hear how your project is going.
Frequently Asked Questions
How early should solar planning happen during a new home build?
Solar planning should start before framing begins. Early planning helps with roof direction, conduit runs, panel sizing, and electrical layout while construction costs are still lower.
Is a battery backup worth adding to a solar system?
A battery helps keep critical appliances running during outages and stores extra daytime power for nighttime use. It also helps reduce grid dependence over time.
What roof type works best for solar panels?
Large south-facing roof sections with minimal shading work best. Metal and asphalt shingle roofs are usually the easiest and most cost-effective for solar installation.
How much can a solar system lower electricity bills?
Most homeowners save between $100 and $200 per month depending on energy use, system size, and local utility rates. Higher electricity costs usually mean larger savings.
Can I install solar later if I skip it during construction?
Yes, but retrofitting solar after construction usually costs more. Running conduit, upgrading electrical service, and opening finished walls can add significant labor expenses.